Baseboards
Before Installation
- The mouldings are for indoor use only and should not be in direct contact with water.
- Possible faults in the material can only be claimed back if noticed before installation!
- Room temperature and moisture have to be normal. Room’s temperature should be approx. 20˚C and air’s relative humidity approx. 40%. Basically this means that the walls and ceiling should be dry and the doors and windows should be glazed.
- Before mounting, you should leave the moulding to acclimatise for 72 hours in the room where it is to be fitted. This will ensure that the mitre cuts do not split after installation. The packaging does not have to be totally removed. It is enough to open the ends of the packaging so that the possible humidity is released.
Installation instruction
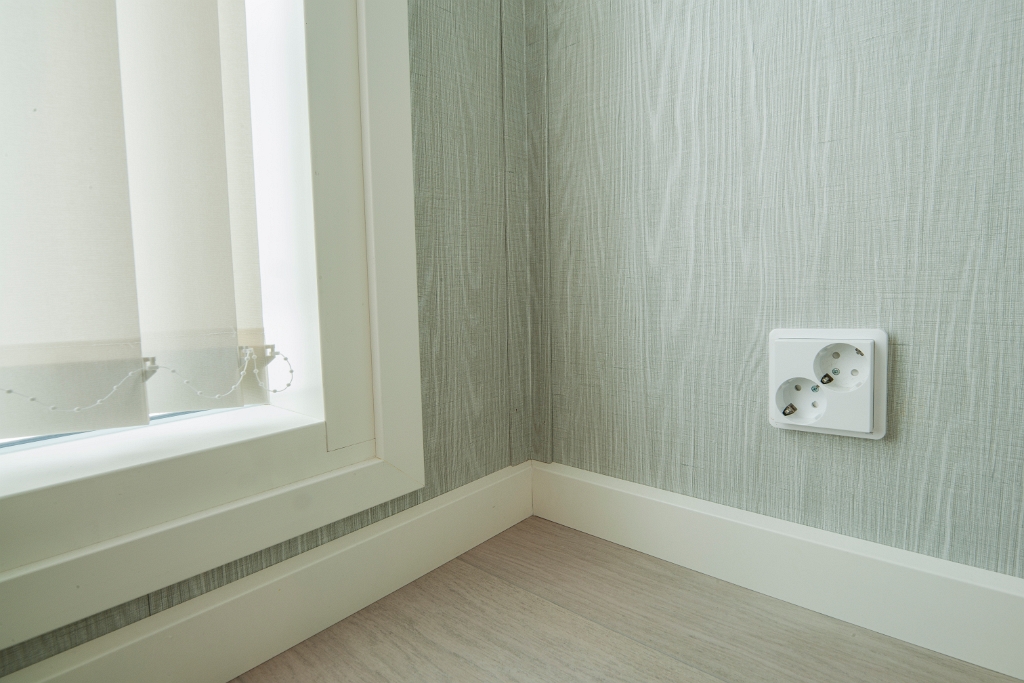
Cutting the end pieces of the baseboard
When the baseboard is thicker than used architrave or when the baseboard has to be finished in a middle of the wall:
- Measure the wall for the required length for the moulding.
- The end mitre cut should be cut the same way as the external mitre corner, but the moulding continuing from the corner is only as long as the width of the board used.
- Before cutting the mitre angle, cut a small piece (the so-called factory end) off from the ends of the mouldings to ensure the ends are straight.
- The mitre angle should be cut at 45-degrees, so that the longer corner or the angle is at the finished surface. The cut mitre angles should form a 90-degree external corner when joined together. Once the angles have been matched, measure the thickness of the moulding, which is going to be the length of the end piece.
- Measure the end piece’s length from the longer mitre angle, i.e. the external corner. Please take extra care when cutting the end piece, as it is a very small moulding piece!!
- Glue the pieces together with quick drying wood glue and apply the glue evenly to both mitre angles. Press the pieces together firmly so that the external mitre and joints become tight and neat. Wipe the extra glue off immediately with a wet cloth before the glue dries. Leave the joints to dry properly before fixing the moulding to the wall.
Adding length to a baseboard in the middle of the wall
- he most unnoticeable joint is done by mitre cutting the ends of the mouldings to a 45-degree angle with the mitre angle facing away from you. Joining the molding together like this will prevent the joint possibly opening up later if the moulding shrinks.
- Before cutting the mitre angle, cut a small piece (the so-called factory end) off from the ends of the mouldings to ensure the ends are straight.
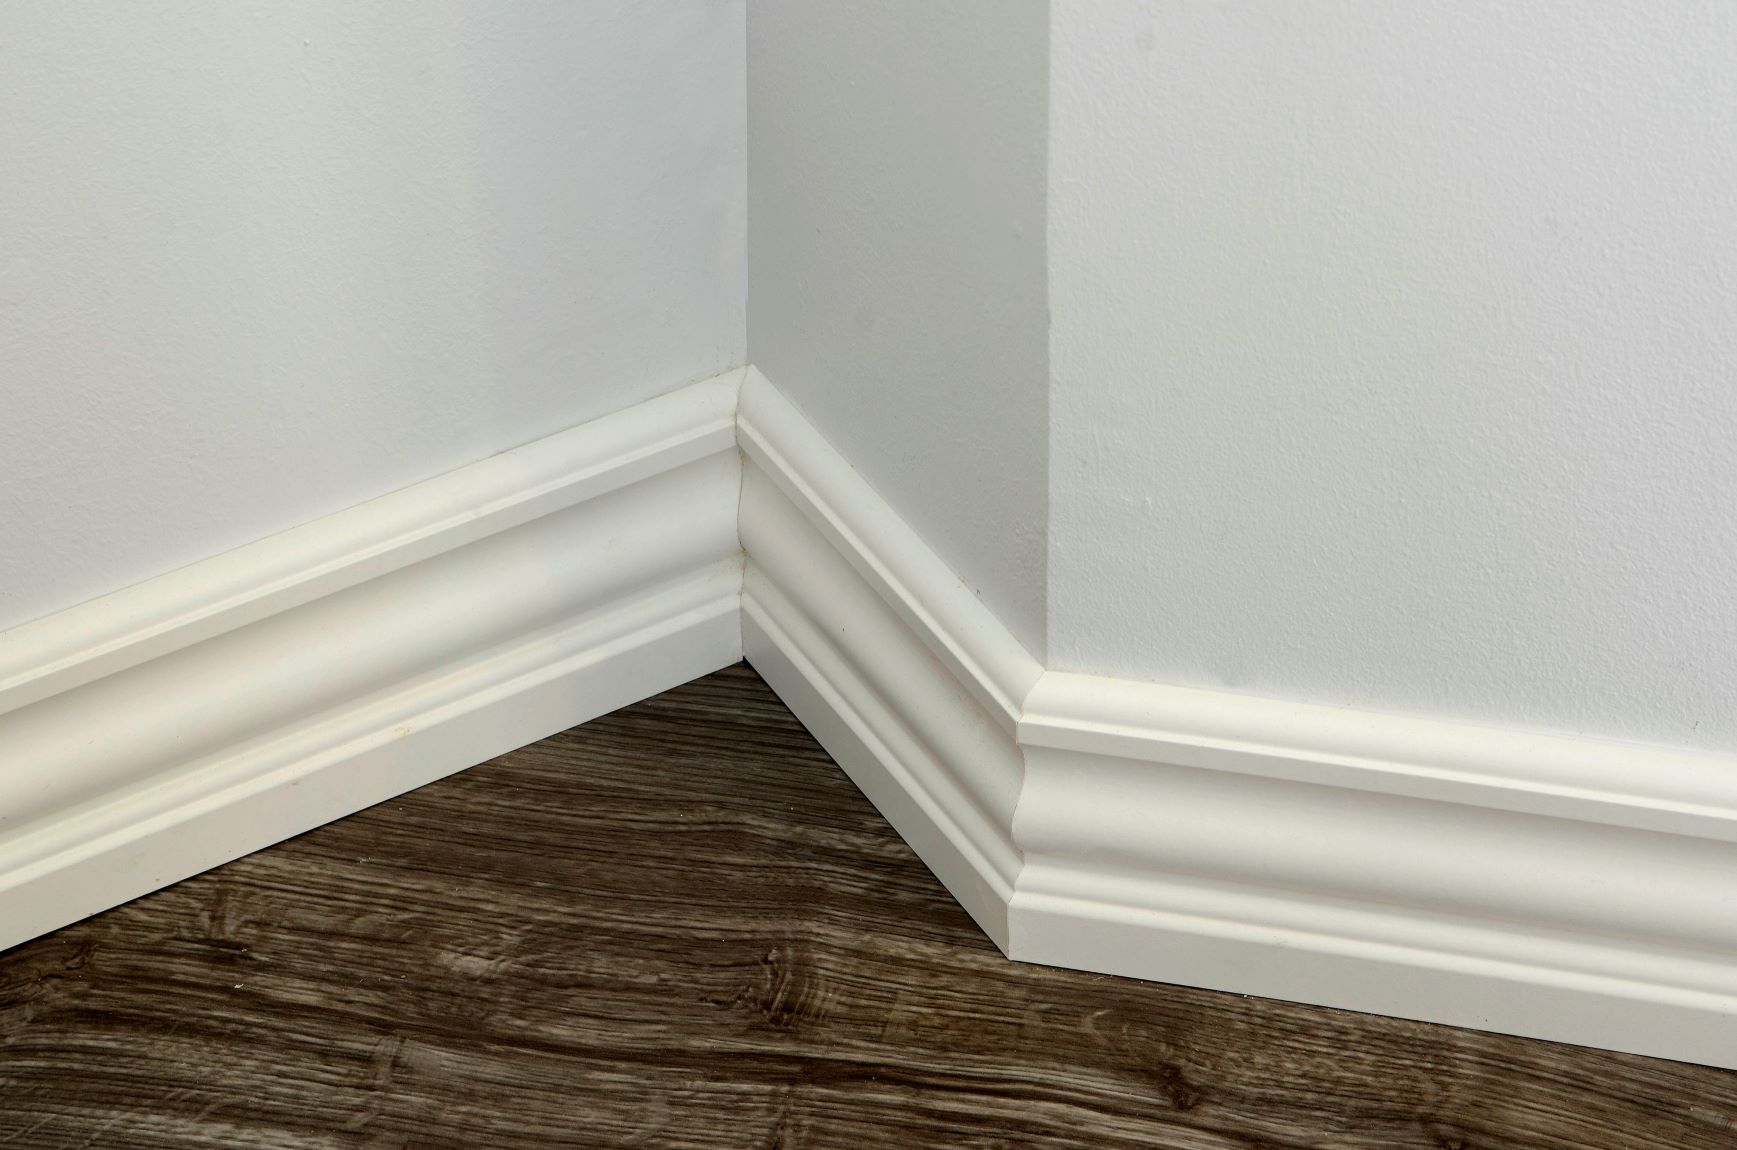
Installing a baseboard / 90-degree corner
- Before cutting the mitre angle, cut a small piece (the so-called factory end) off from the ends of the mouldings to ensure the ends are straight.
- The moldings in the corner should be mitred to 45-degree angles, so that they will form a 90-degree corner when joined together.
- Cut the mitre angle to the first molding and fix the molding to the wall. Cut a reverse mitre angle to the second molding, shorten the molding to the correct length, so that the angles will fit together tightly.
- If one length is not enough for one wall, cut the necessary mitre angles to join the moldings.
- External corners are done like the internal corners, but the mitre angles are cut the other way around.
Installing the moulding is easy and simple using screws, nails or nail gun. For white mouldings, the Maler patch paint is great for covering marks incurred whilst fixing.
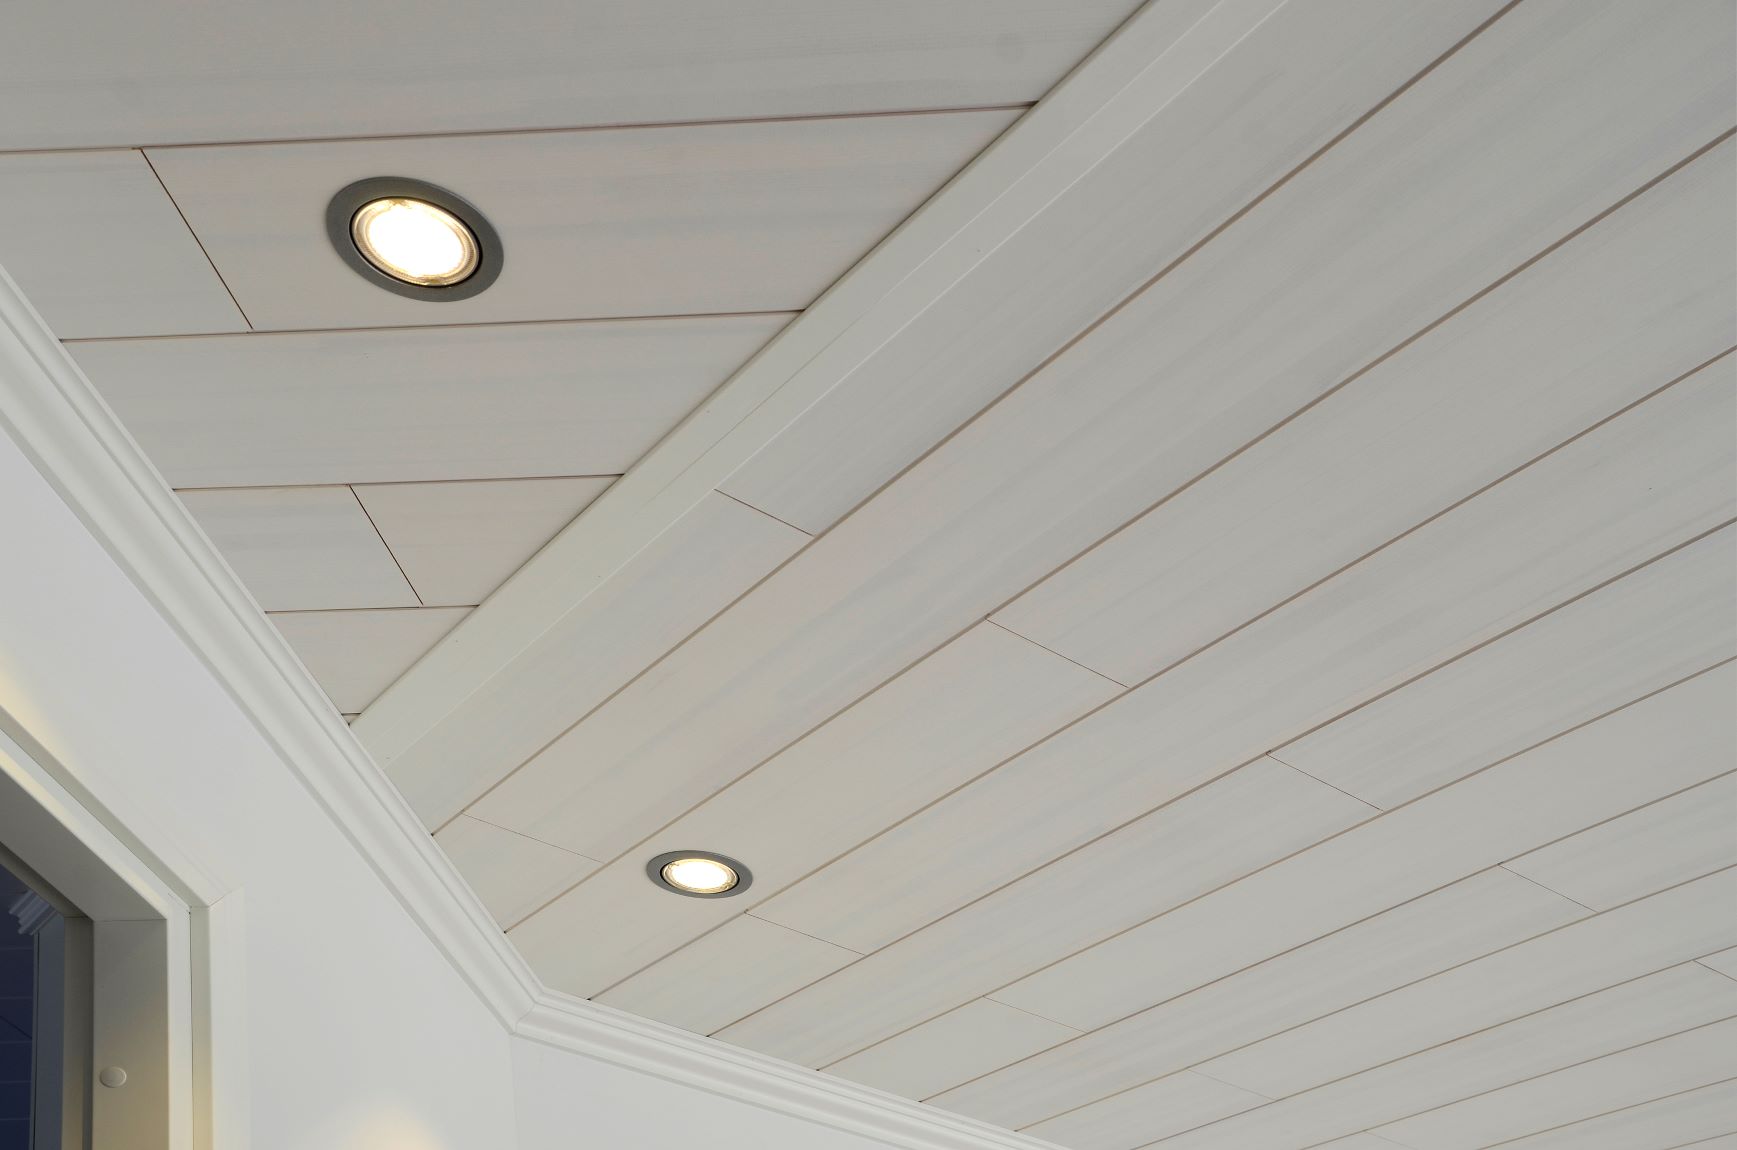
Ceiling Mouldings
Before Installation
- The mouldings are for indoor use only and should not be in direct contact with water.
- Possible faults in the material can only be claimed back if noticed before installation!
- Room temperature and moisture have to be normal. Room’s temperature should be approx. 20˚C and air’s relative humidity approx. 40%. Basically this means that the walls and ceiling should be dry and the doors and windows should be glazed.
- Before installation, you should leave the moulding to acclimatise for 72 hours in the room where it is to be fitted. This will ensure that the mitre cuts do not split after installation. The packaging does not have to be totally removed. It is enough to open the ends of the packaging so that the possible humidity is released.
Installation instruction
Installation is neat and easy with screws, nails or a nail gun. For white moulding, the Maler patch paint is great for covering marks incurred whilst fixing.
Adding length to the ceiling moulding in the middle of the wall.
- he most unnoticeable joint is done by mitre cutting the ends of the mouldings to a 45-degree angle with the mitre angle facing away from you. Joining the mouldings together like this will prevent the joint possibly opening up later if the mouldings shrinks.
- Before cutting the mitre angle, cut a small piece (the so-called factory end) off from the ends of the mouldings to ensure the ends are straight.
Installing ceiling mouldings to the corners of a flat ceiling
- First cut two small pieces of moulding (assembly pieces) that will help you to avoid wasting material.
- Before cutting the mitre angle, cut a small piece (the so-called factory end) off from the ends of the mouldings to ensure the ends are straight.
- Place the ceiling moulding on the mitre table in the same position as it is intended to be installed as well as at a 45-degree angle in relation to the saw.
- When cutting the second ceiling moulding, the moulding is placed at an opposite 45-degree position
Installing ceiling mouldings to the corners of an inclined ceiling
- For an inclined ceiling, you just have to look for the right angles for the mitre cut, and it is a good idea to use to ceiling’s tilt angle for assistance.
Possible problems that may occur when the ceiling moulding has been placed the wrong way around on the mitre table:
- A gap in the mitre corner
- The ceiling moulding “feels” wider than the other moulding or the pattern does not match.
Measuring the length of the ceiling moulding:
- The longer end mitre cut to a 45-degree angle should touch the corner. In the corner, the longer part of the angle should face downwards. The correct length is the measurement taken from the longer mitre corner.
Universal Mouldings
Before Installation
- The mouldings are for indoor use only and should not be in direct contact with water.
- Possible faults in the material can only be claimed back if noticed before installation!
- Room temperature and moisture have to be normal. Room’s temperature should be approx. 20˚C and air’s relative humidity approx. 40%. Basically this means that the walls and ceiling should be dry and the doors and windows should be glazed.
- Before installation, you should leave the moulding to acclimatise for 72 hours in the room where it is to be fitted. This will ensure that the mitre cuts do not split after installation. The packaging does not have to be totally removed. It is enough to open the ends of the packaging so that the possible humidity is released.
Installation instruction
A flexible moulding is suitable for finishing off a variety of joints. The advantage of using flexible moulding is that they bend according to both the external and internal corners regardless of the angle’s degree.
Installation to internal and external corners
- You can protect a room’s external corners that often get hard wear by using universal mouldings.
- Measure the required length from the corner and cut the molding to the correct length.
- Bend the molding to the corner so that the coated surface is visible and nail or glue it down.
- Do the same thing whether it is an internal or external corner and on any corner angles.
Installation as a ceiling moulding
- The universal moulding is also suited to be used as a ceiling moulding, and is an excellent choice for inclined ceilings.
- Installation is neat and easy with screws, nails or a nail gun. For white mouldings, the Maler patch paint is great for covering marks incurred whilst fixing.
Installation to internal corner
Installation as a ceiling moulding
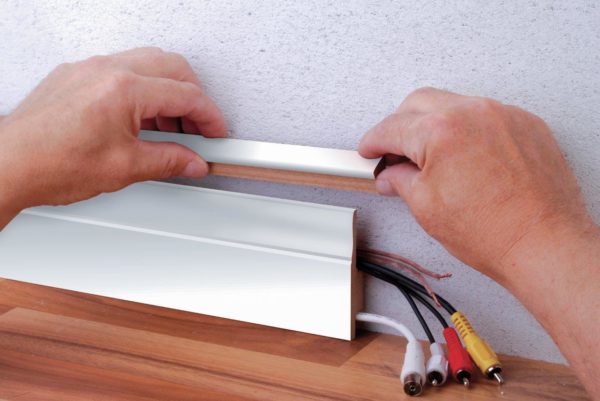
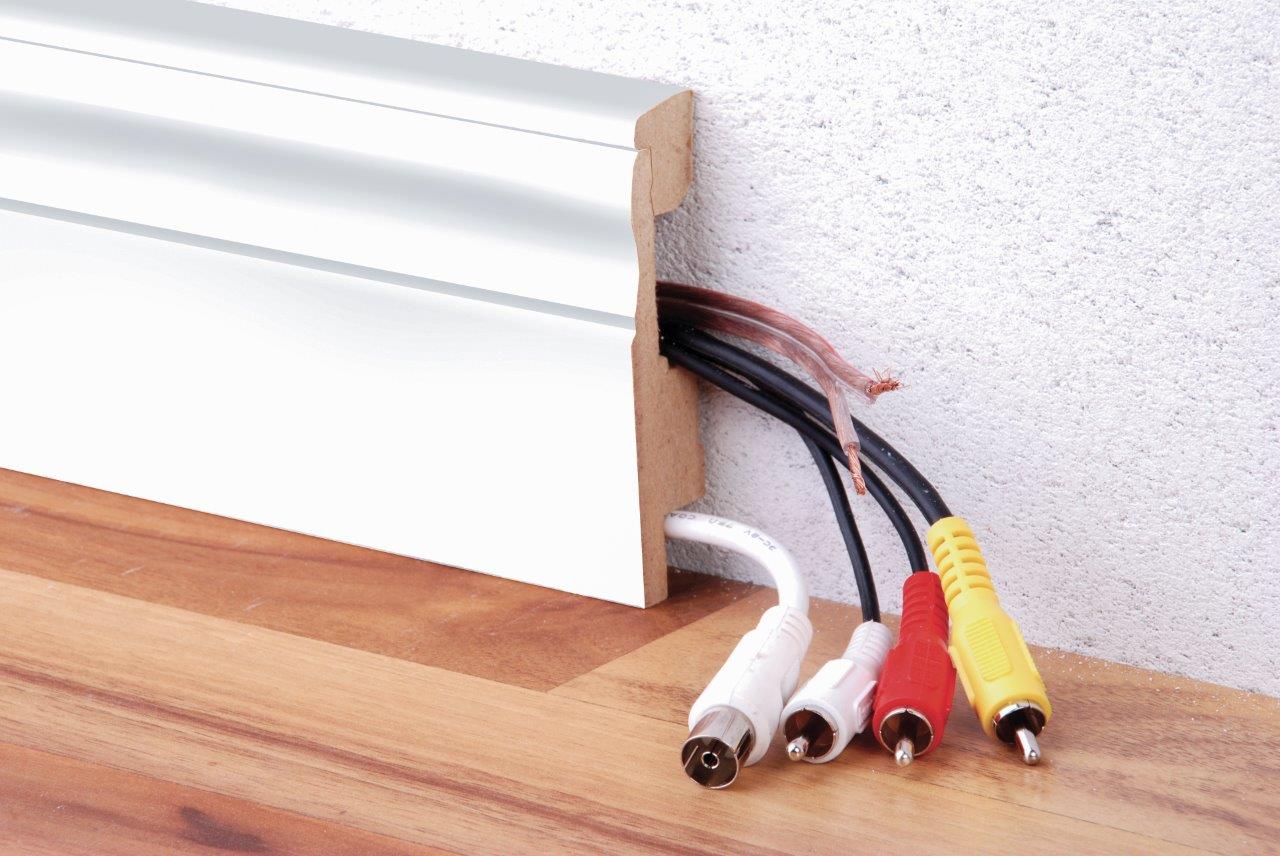
Cable groove moulding
Installation instruction
- See also the instruction Baseboards, which will instruct you how to add length to a baseboard. Also, how to install corners and cut the end of the baseboard.
- In the cable-grooved mouldings of baseboards and architraves, several cables can be run within the moulding, out of the way and out of sight. Power cables can be installed at separately from other cables, in order to lower the risk of interference.
- Place the lower cables next to the wall and fasten the moulding to the wall.
- Press the grooved cover shut. The grooved cover is easy to remove and replace, you can add or remove cables without removing the moulding.