Before Installation
- The mouldings are for indoor use only and should not be in direct contact with water.
- Possible faults in the material can only be claimed back if noticed before installation!
- Room temperature and moisture have to be normal. Room’s temperature should be approx. 20˚C and air’s relative humidity approx. 40%. Basically this means that the walls and ceiling should be dry and the doors and windows should be glazed.
- Before installation, you should leave the moulding to acclimatise for 72 hours in the room where it is to be fitted. This will ensure that the mitre cuts do not split after installation. The packaging does not have to be totally removed. It is enough to open the ends of the packaging so that the possible humidity is released.
Installation instruction
A flexible moulding is suitable for finishing off a variety of joints. The advantage of using flexible moulding is that they bend according to both the external and internal corners regardless of the angle’s degree.
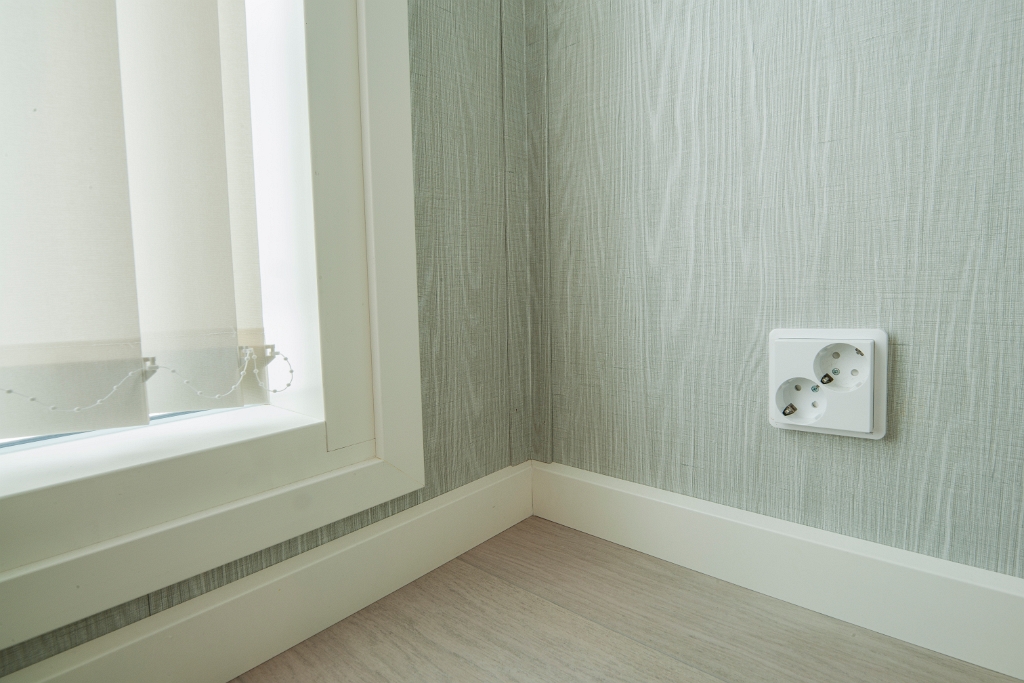
Installation to internal and external corners
- You can protect a room’s external corners that often get hard wear by using universal mouldings.
- Measure the required length from the corner and cut the molding to the correct length.
- Bend the molding to the corner so that the coated surface is visible and nail or glue it down.
- Do the same thing whether it is an internal or external corner and on any corner angles.
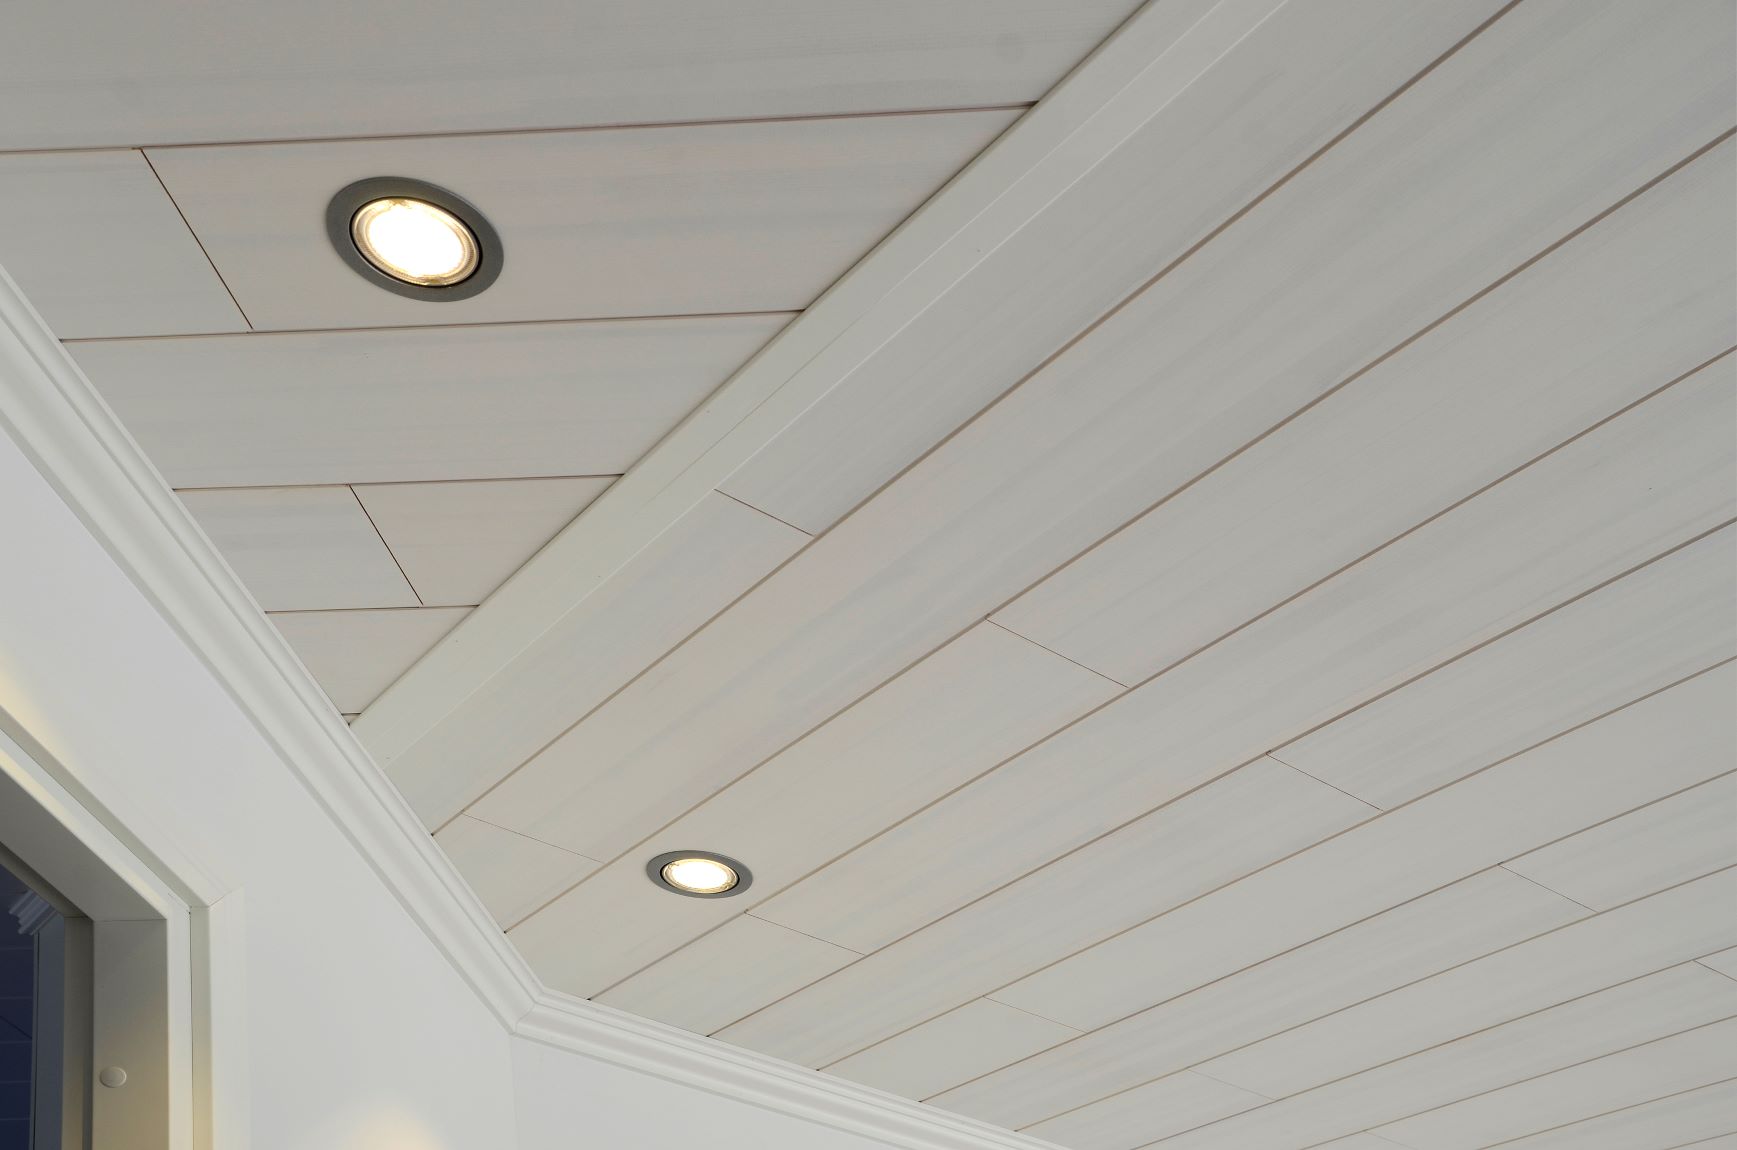
Installation as a ceiling moulding
- The universal moulding is also suited to be used as a ceiling moulding, and is an excellent choice for inclined ceilings.
- Installation is neat and easy with screws, nails or a nail gun. For white mouldings, the Maler patch paint is great for covering marks incurred whilst fixing.
Installation to internal corner
Installation as a ceiling moulding