


Read the instructions carefully before the installation of the wall panels
Before installation
Storage
- To avoid deformation in the product, it has to be collocated in a horizontal way.
NB: For shower rooms, moisture insulation is always required.
More instructions on how to install panels in wet rooms can be found at the end of the page
Background

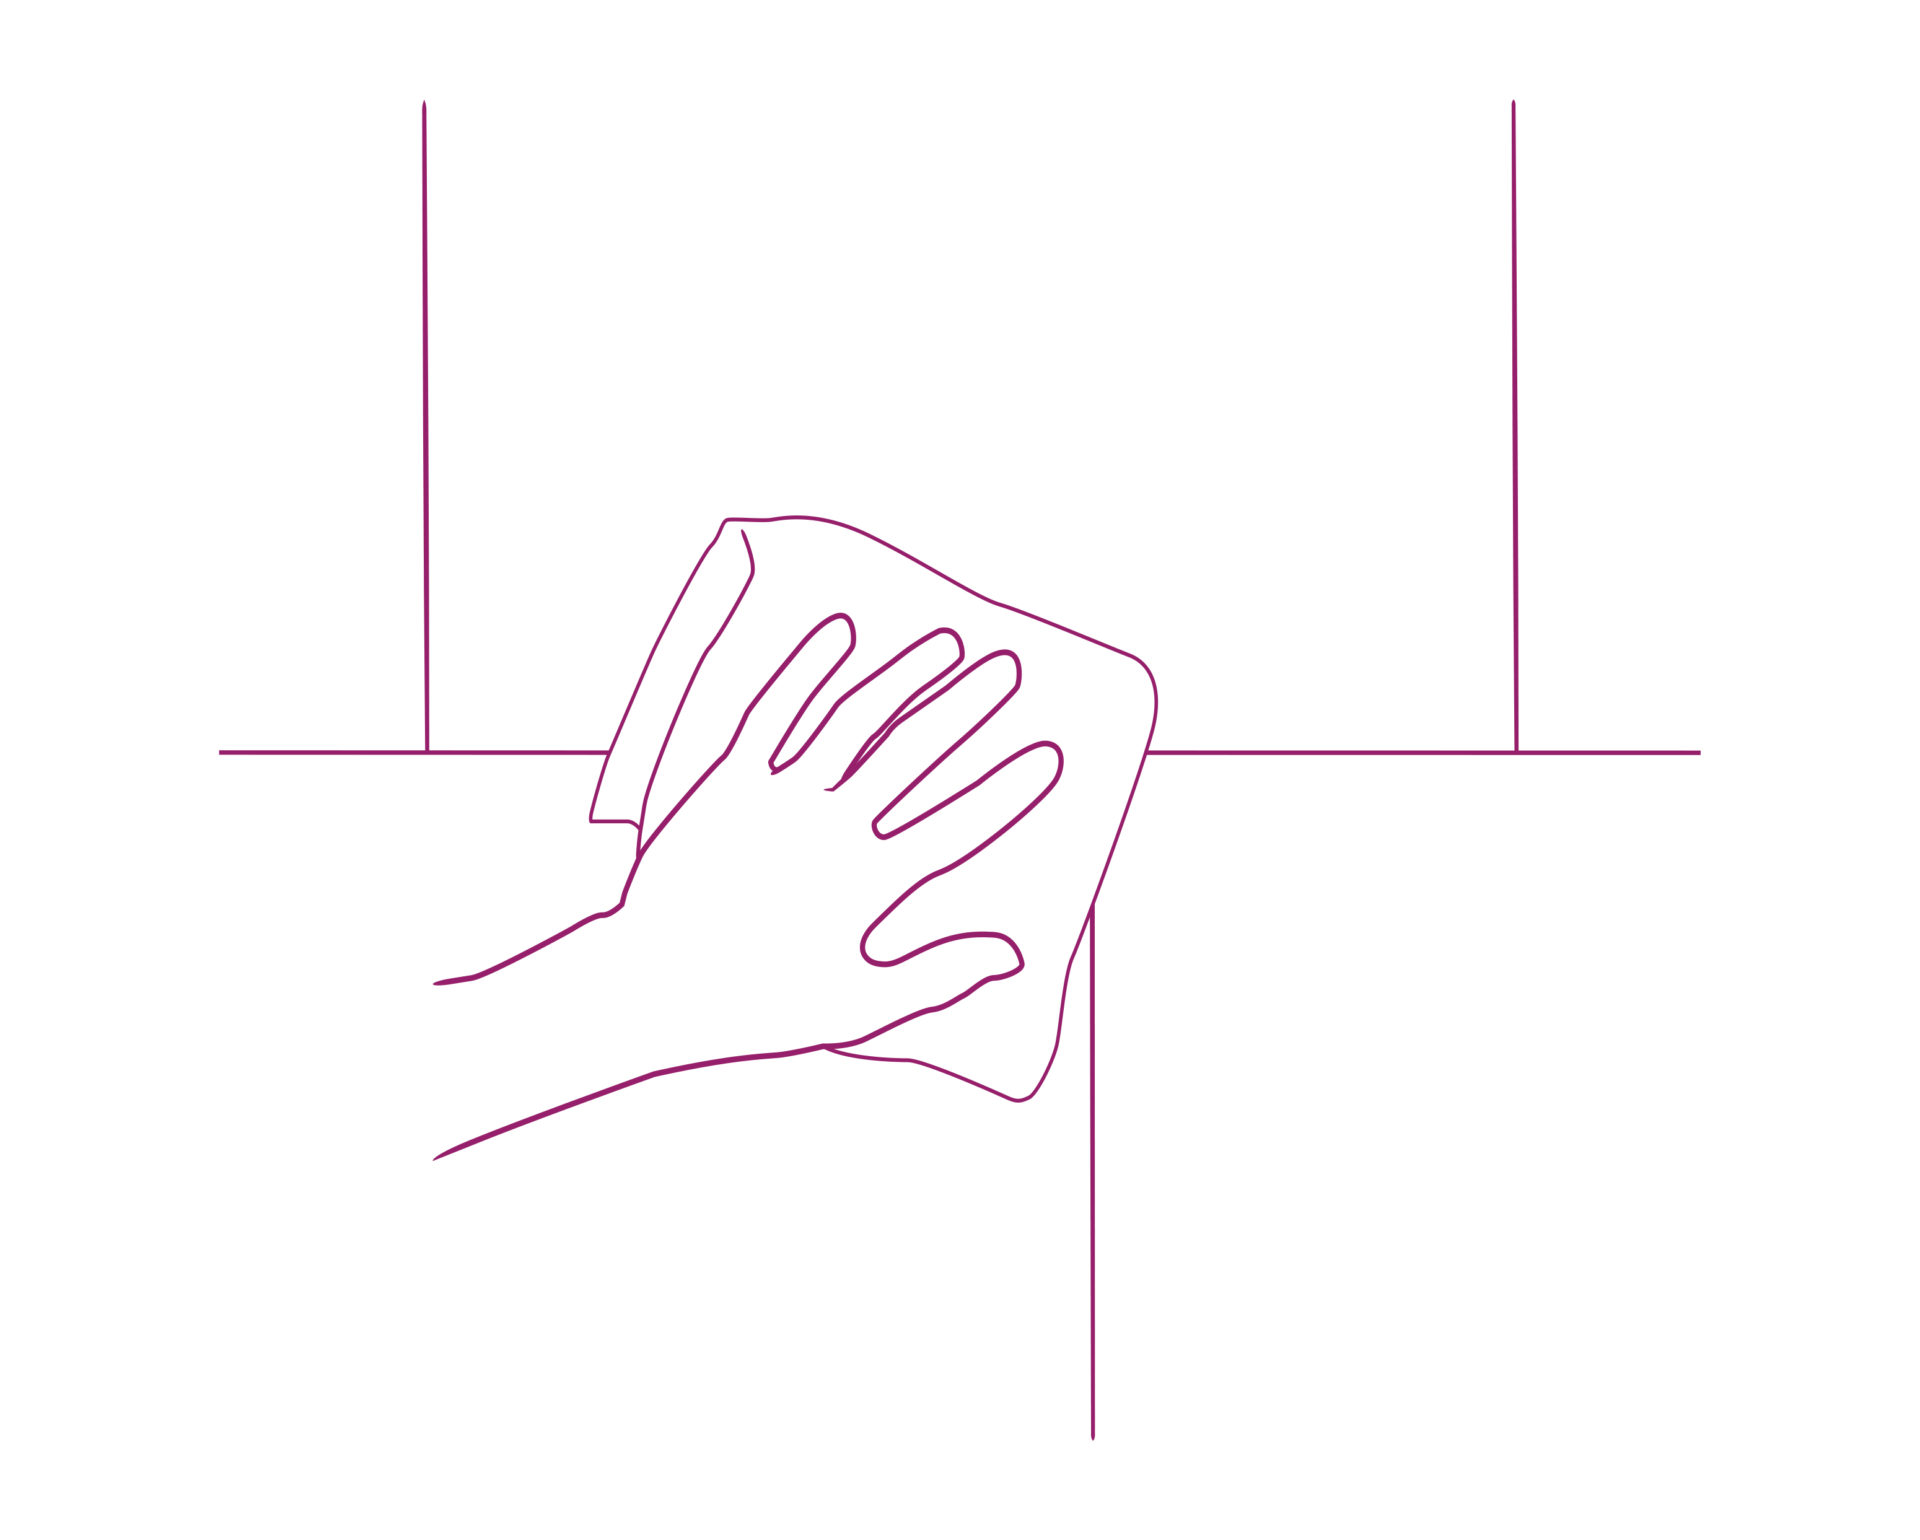
Clean the surface
Be sure that the surface is clean and out of greases.
Preparation of the wall
ART SPA Wall panels can be installed directly on many surfaces. If your wall is not porous (because is not concrete, plaster, wood…), it is ready to start working.
Wall perfect to start working
If your wall is not porous (because is not concrete, plaster, wood…), it is ready to start working.
Installation
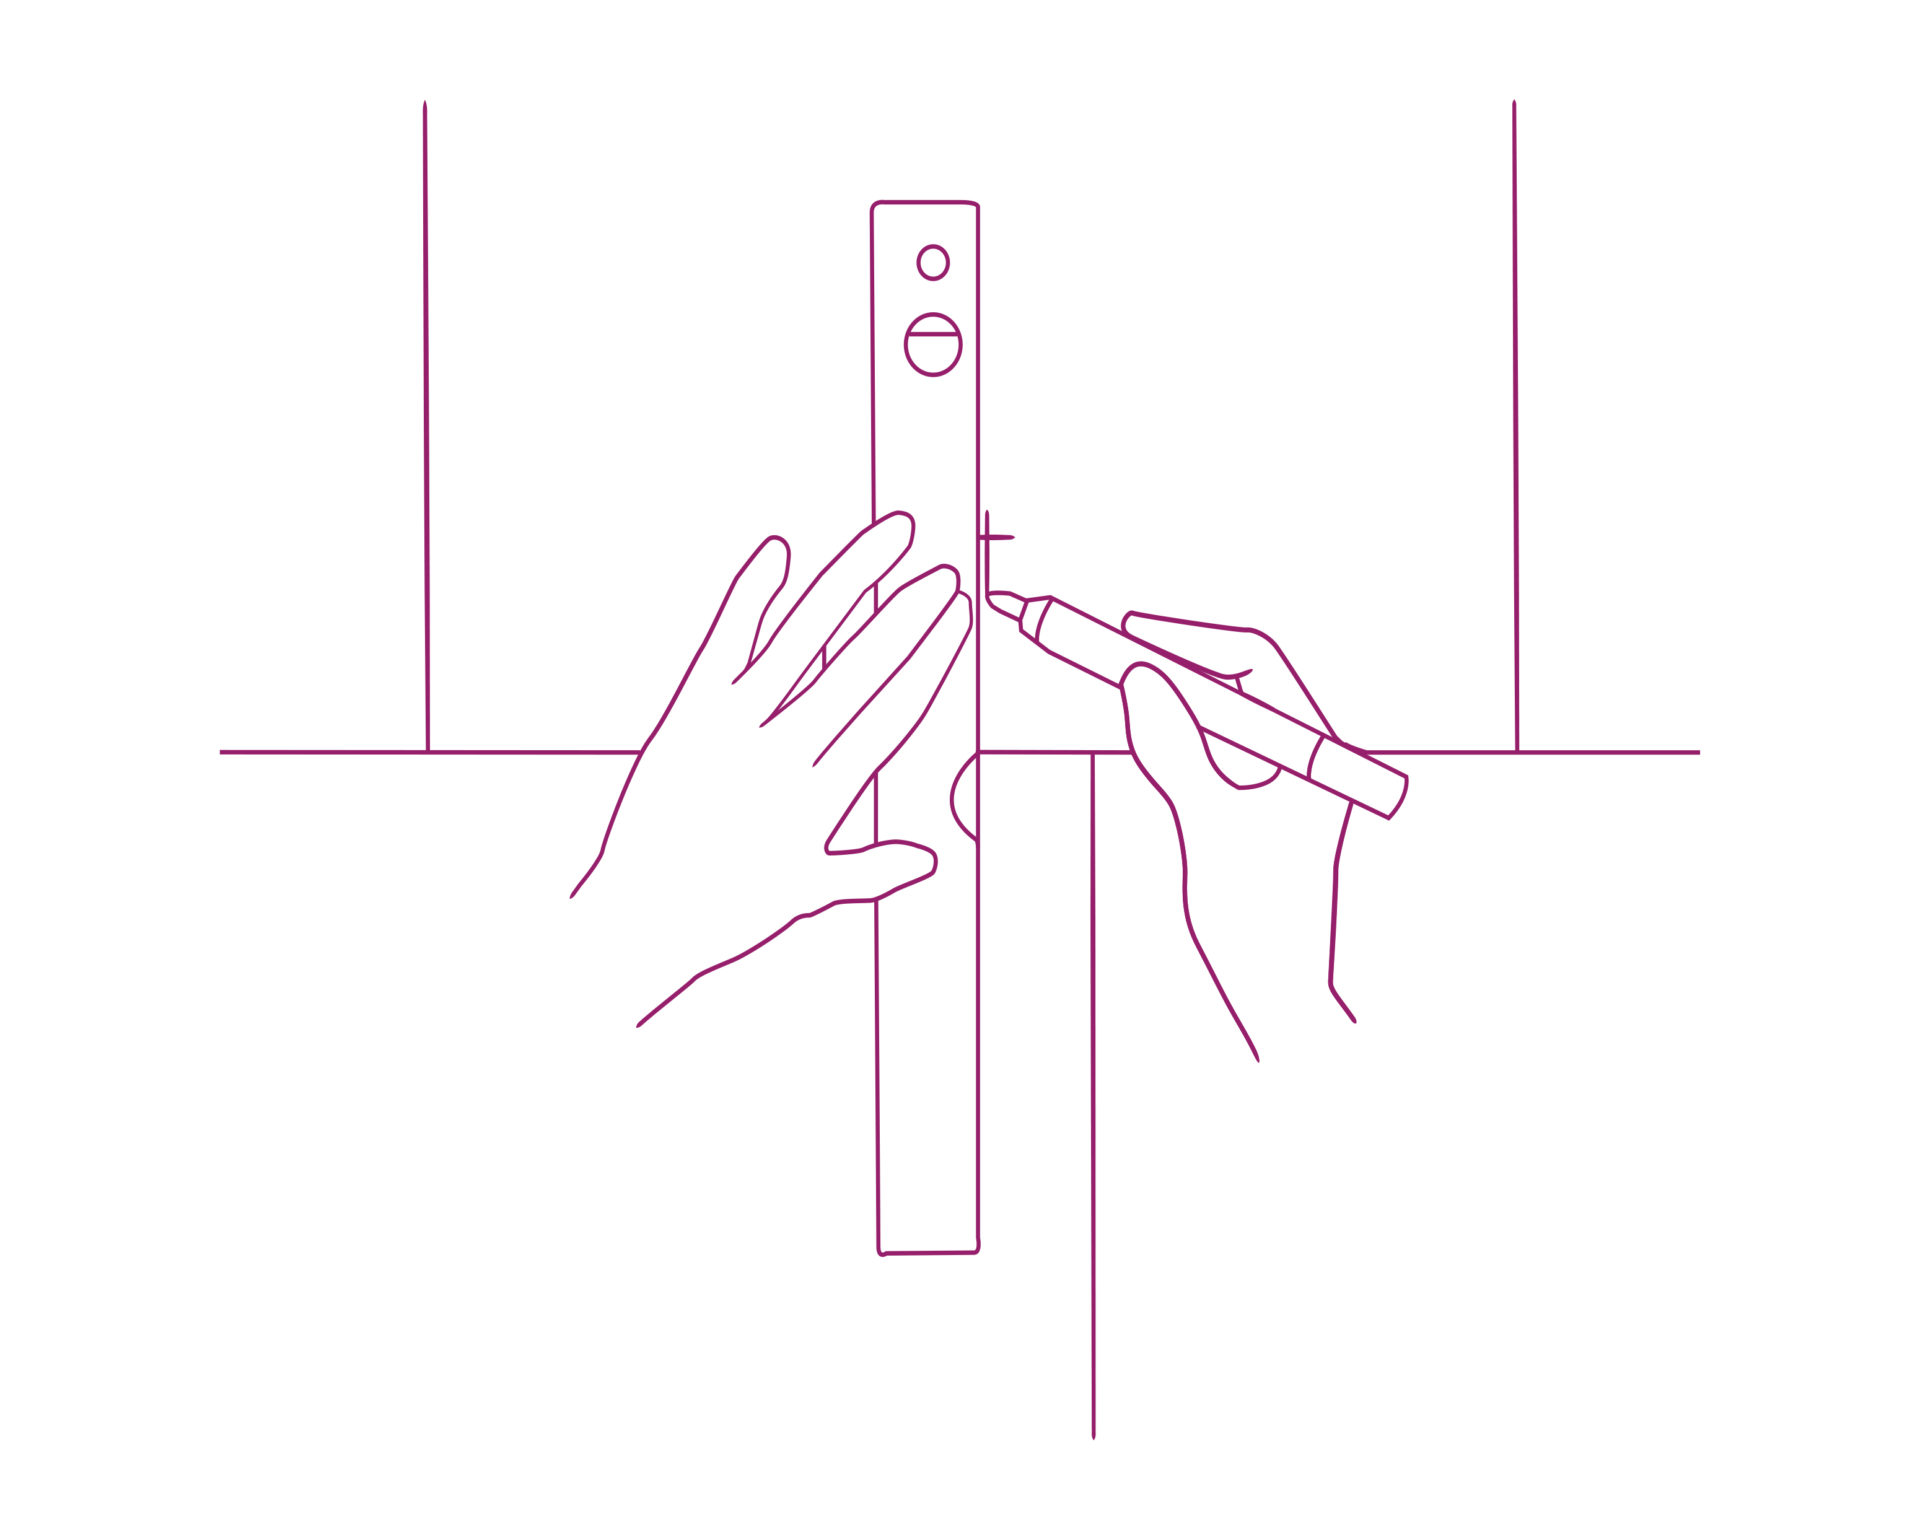
Mark the center of the wall
Mark horizontally and vertically the center, you will obtain 4 angles of 90º, this will help to have a reference to put the first tile.
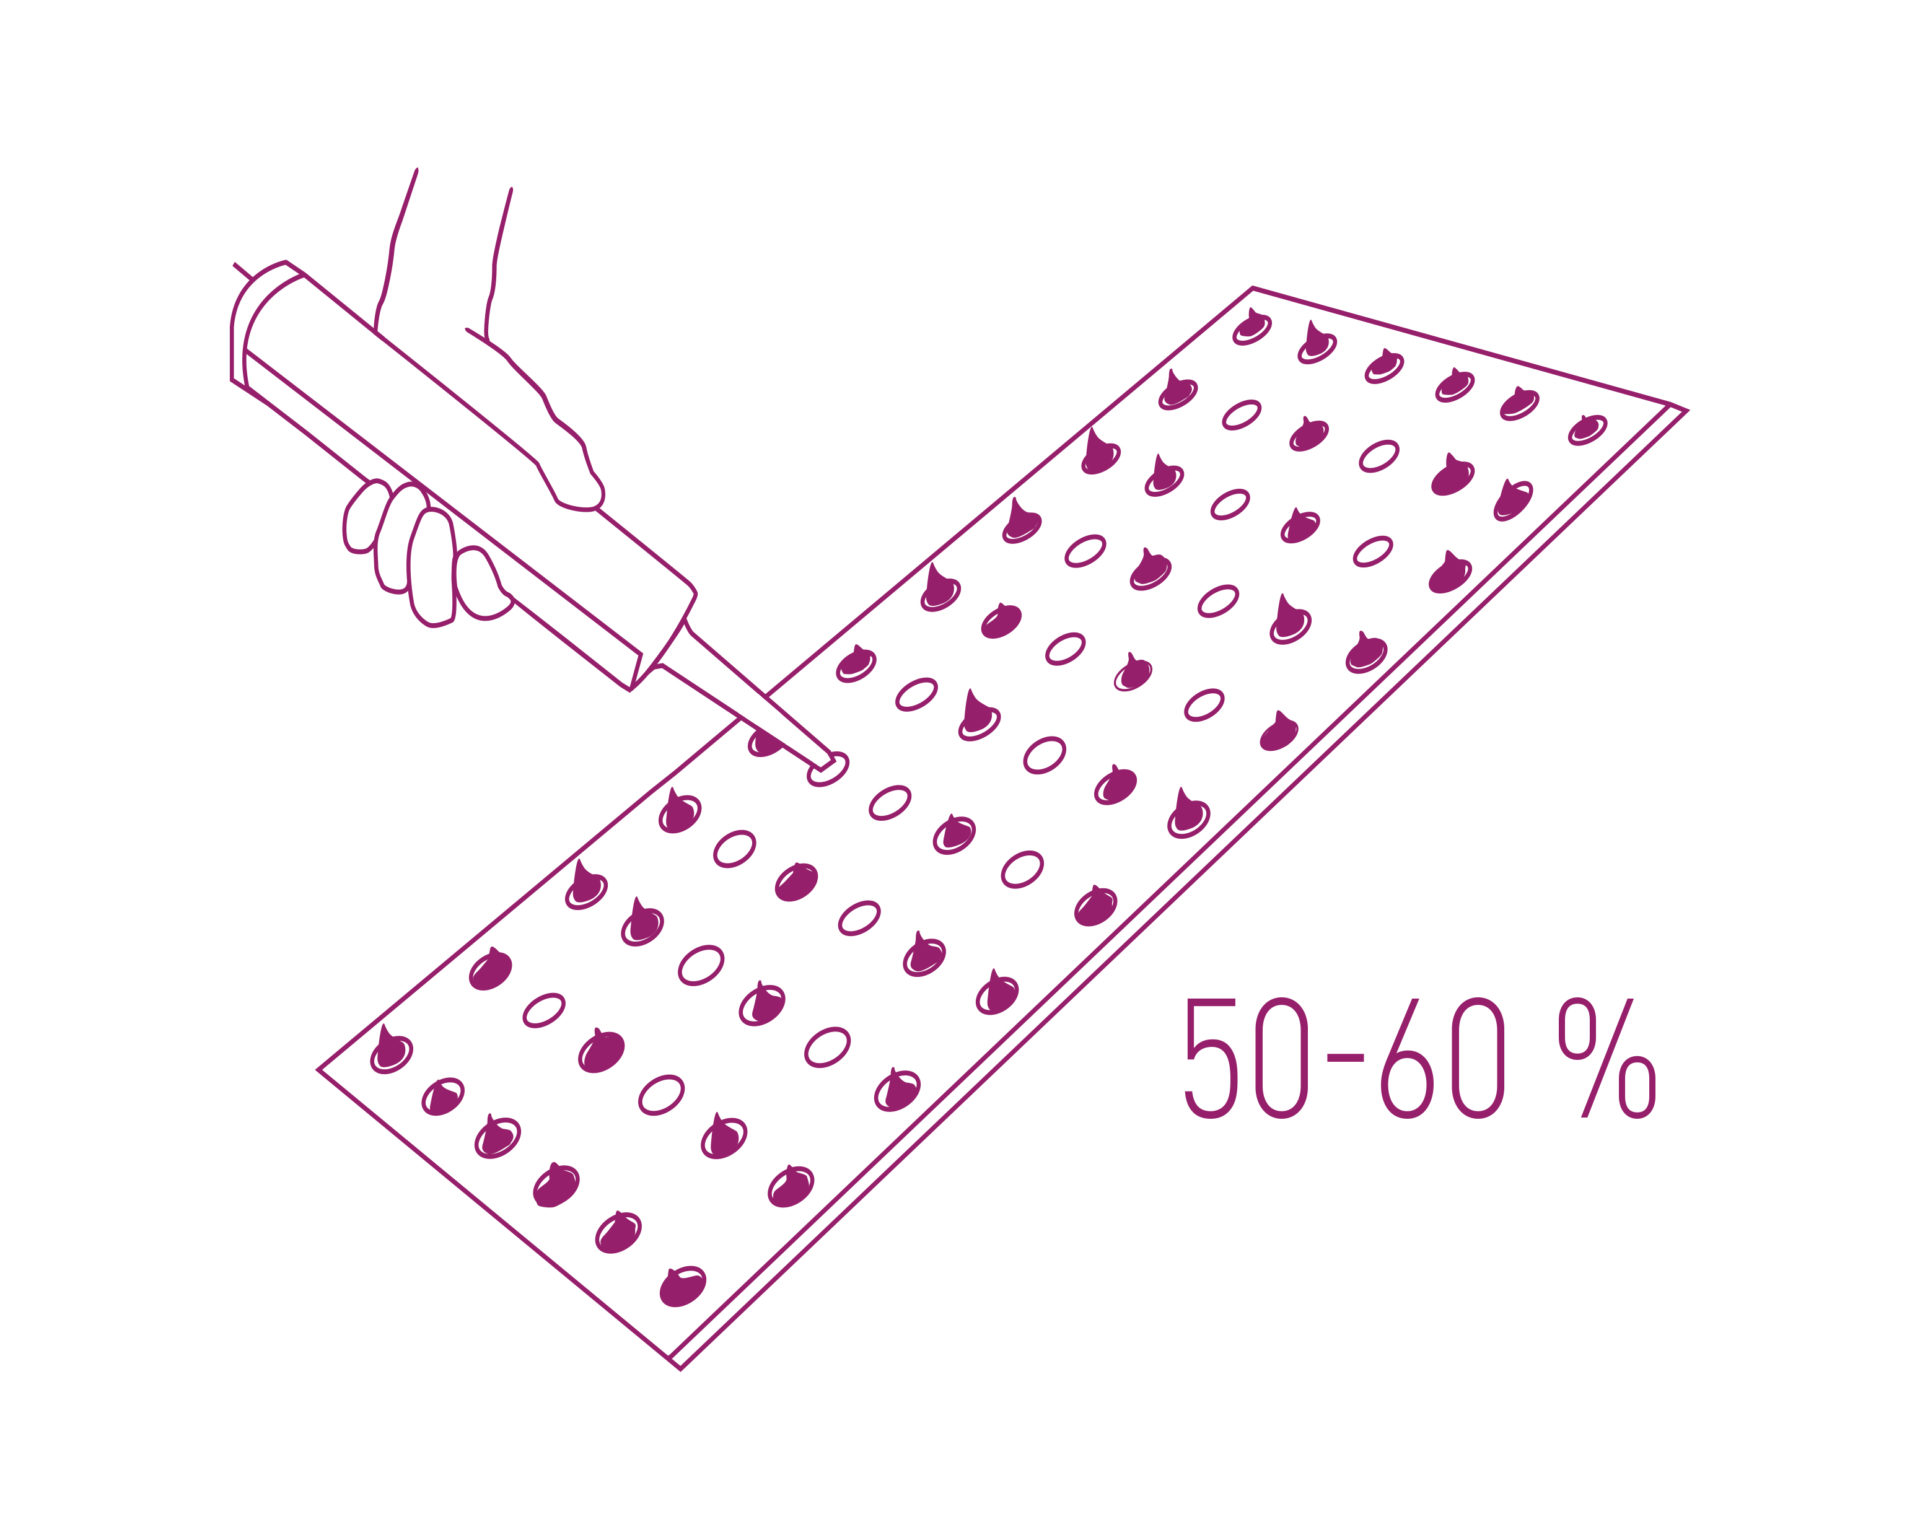
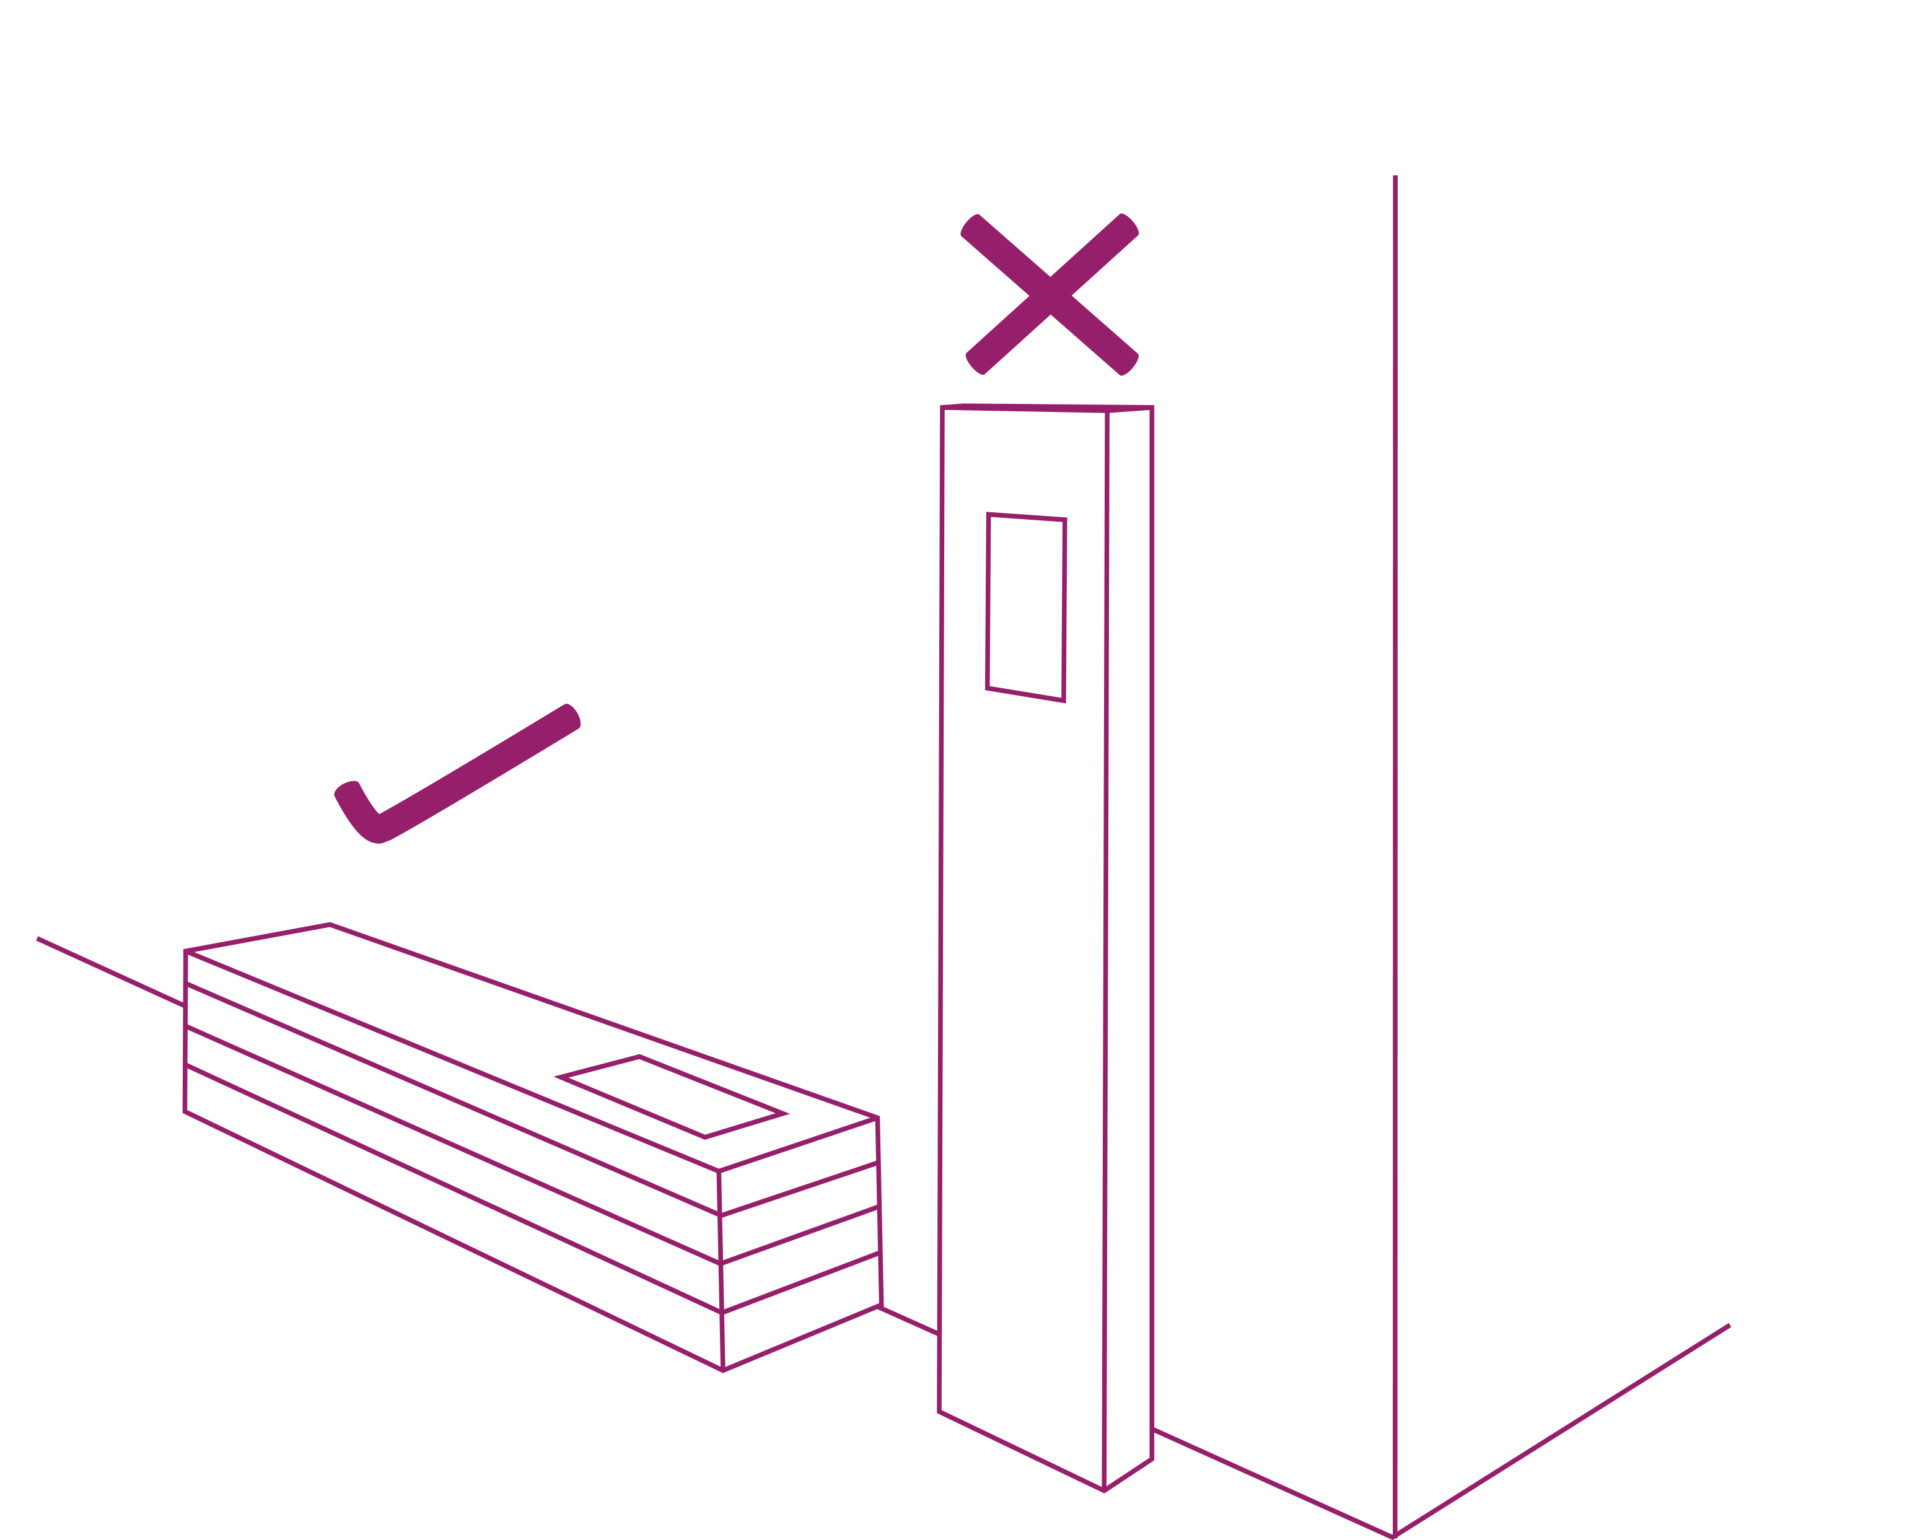
Apply the installation glue
Each tile has an adhesive foam with holes for the installation glue to get the optimum adherence. It is recommended to apply installation glue in the 50% or 60% of the holes.
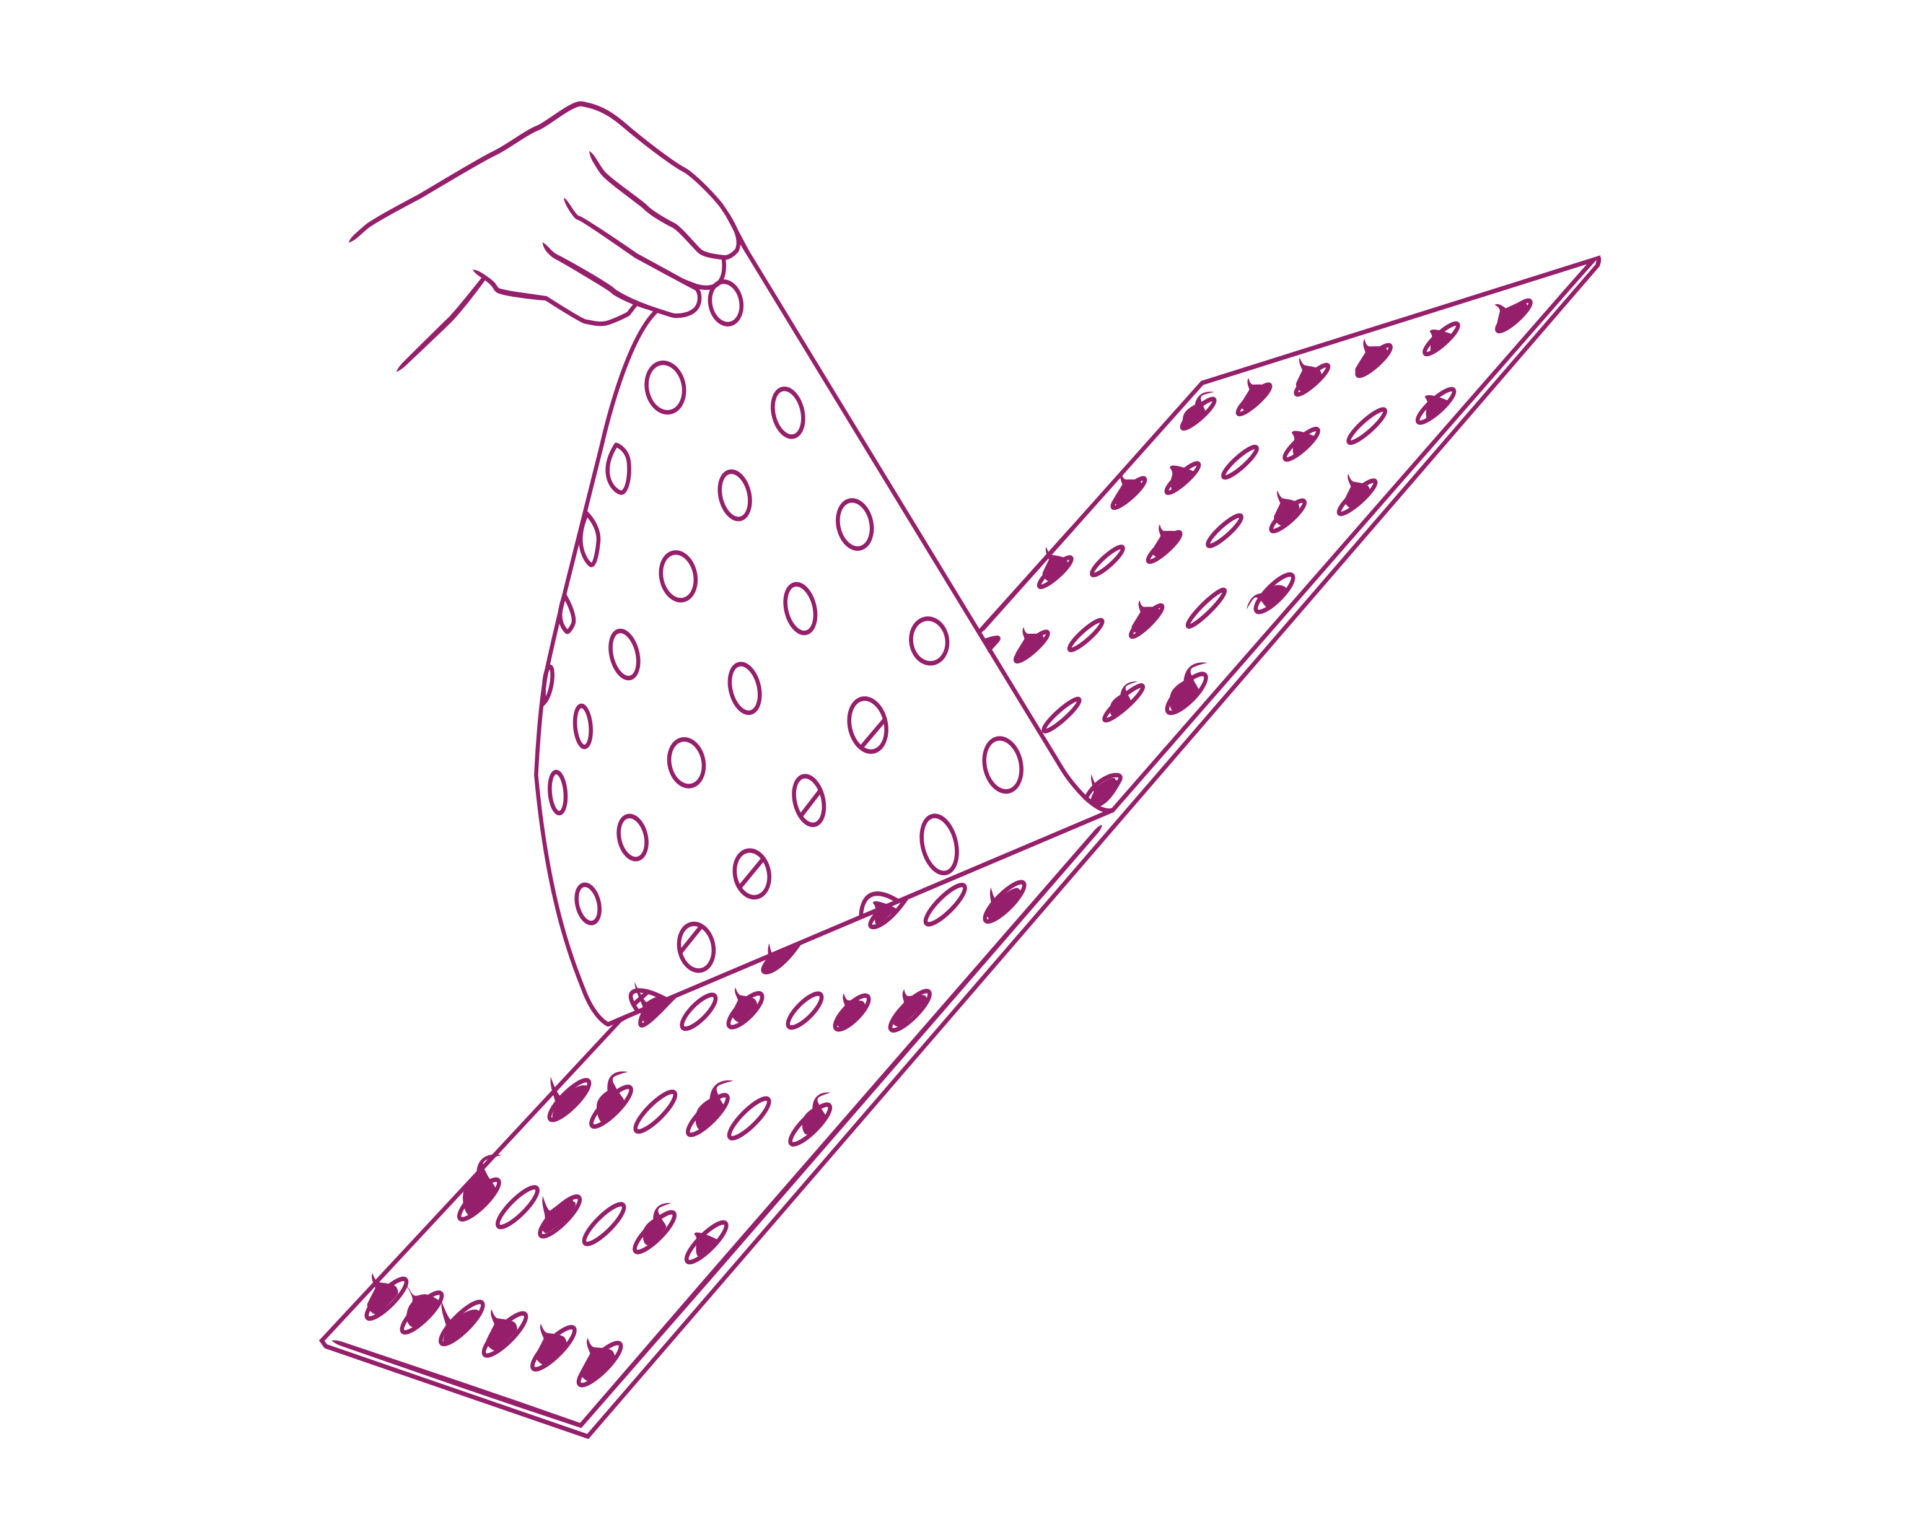
Remove the protector film
Take off the auto-adhesive protector paper to stick the tile over the wall.
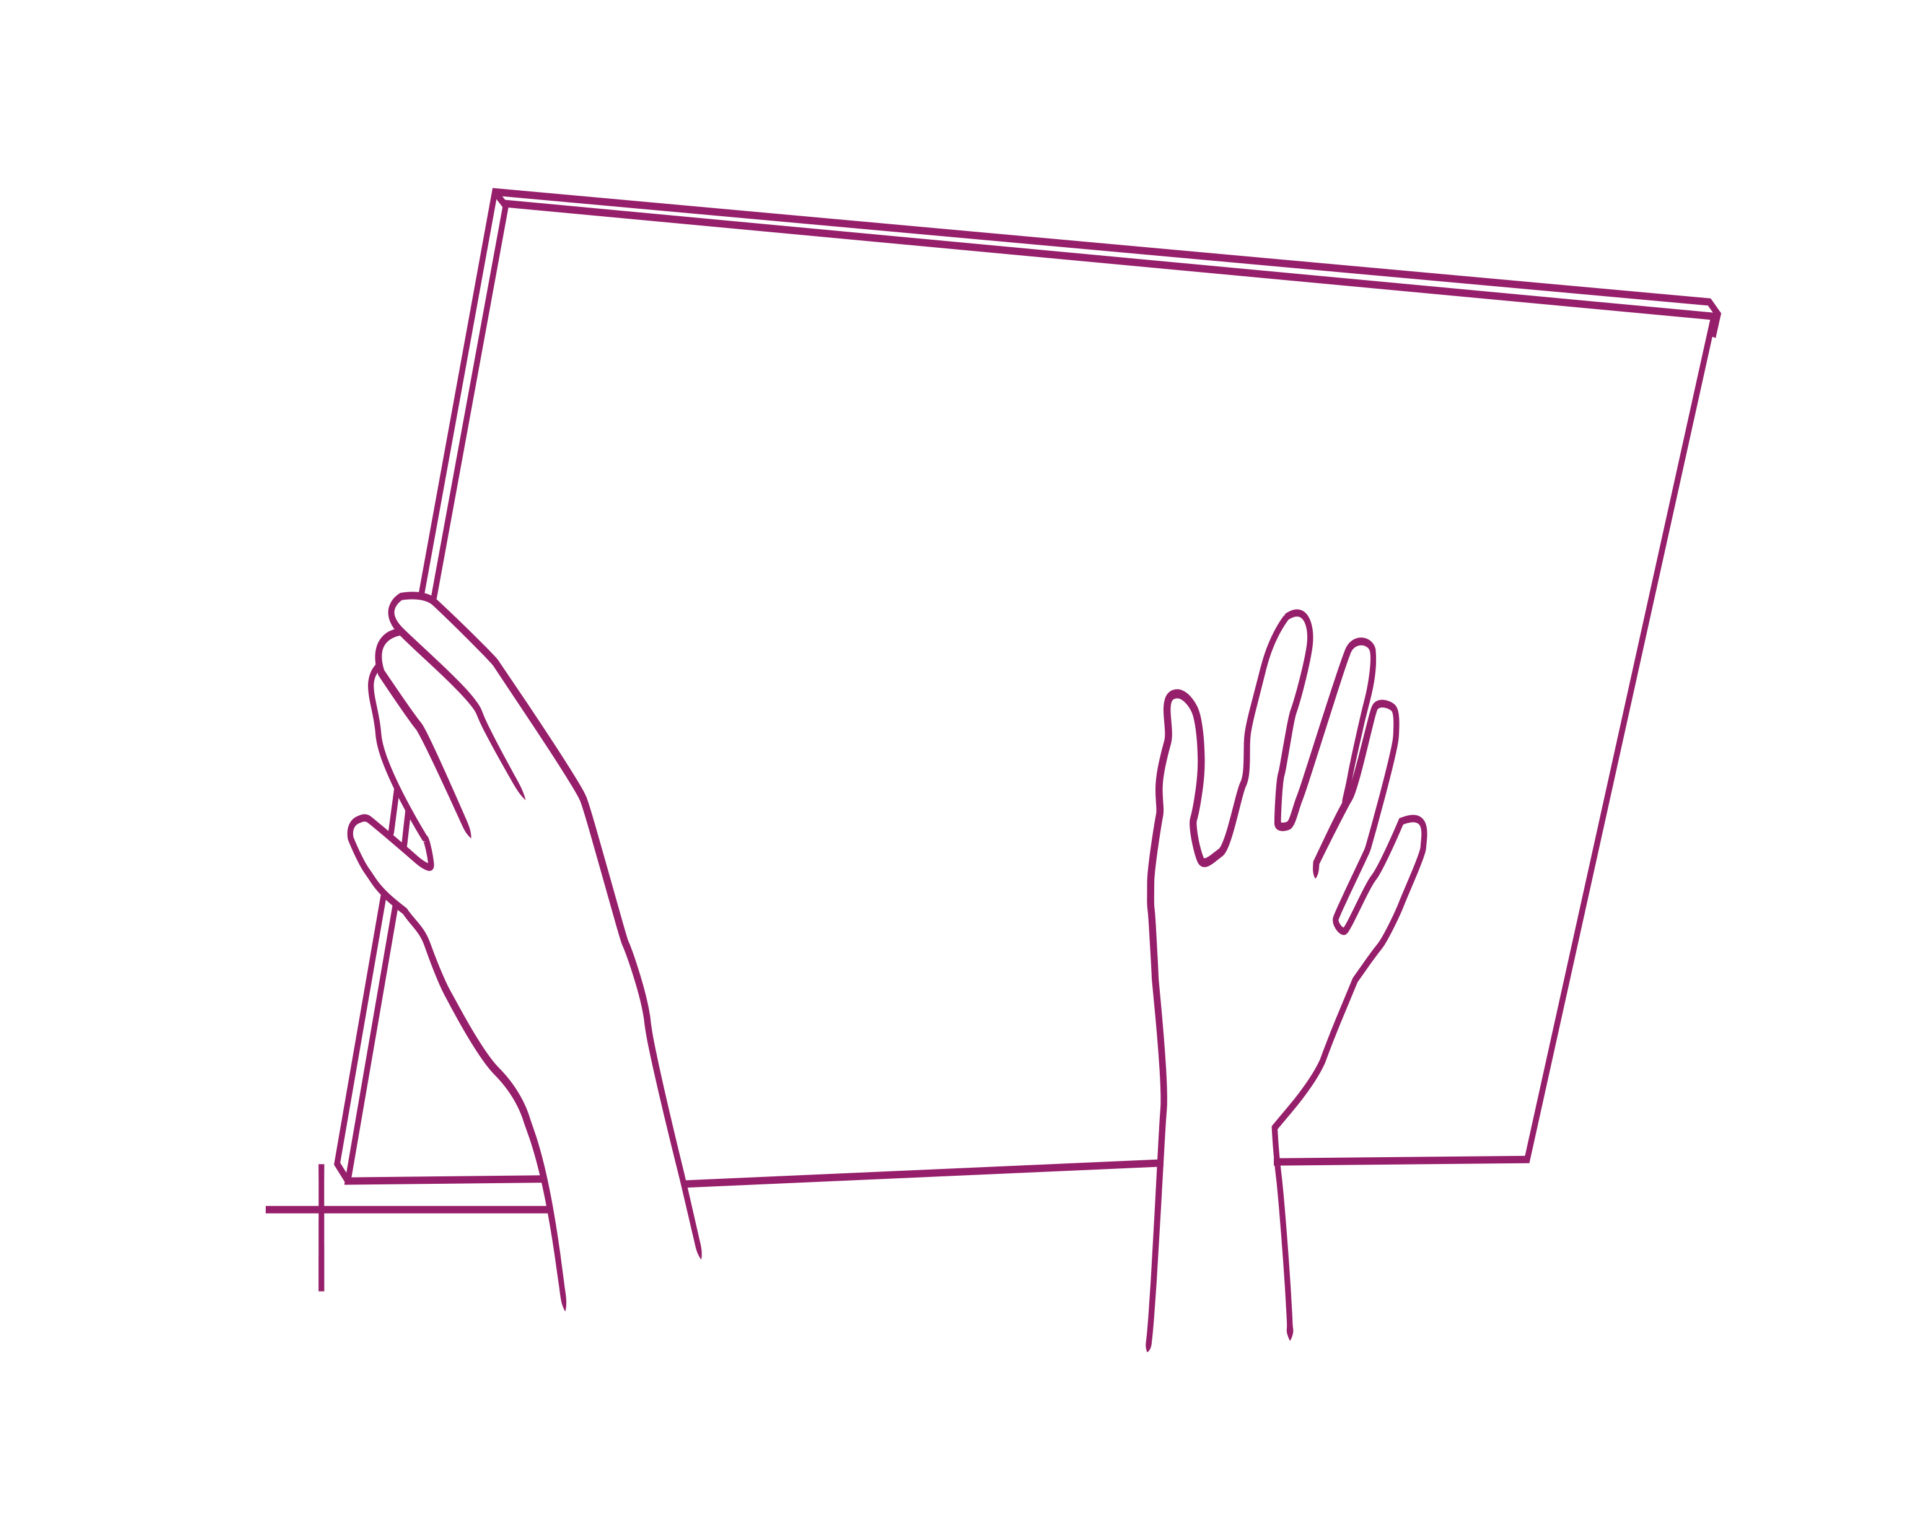
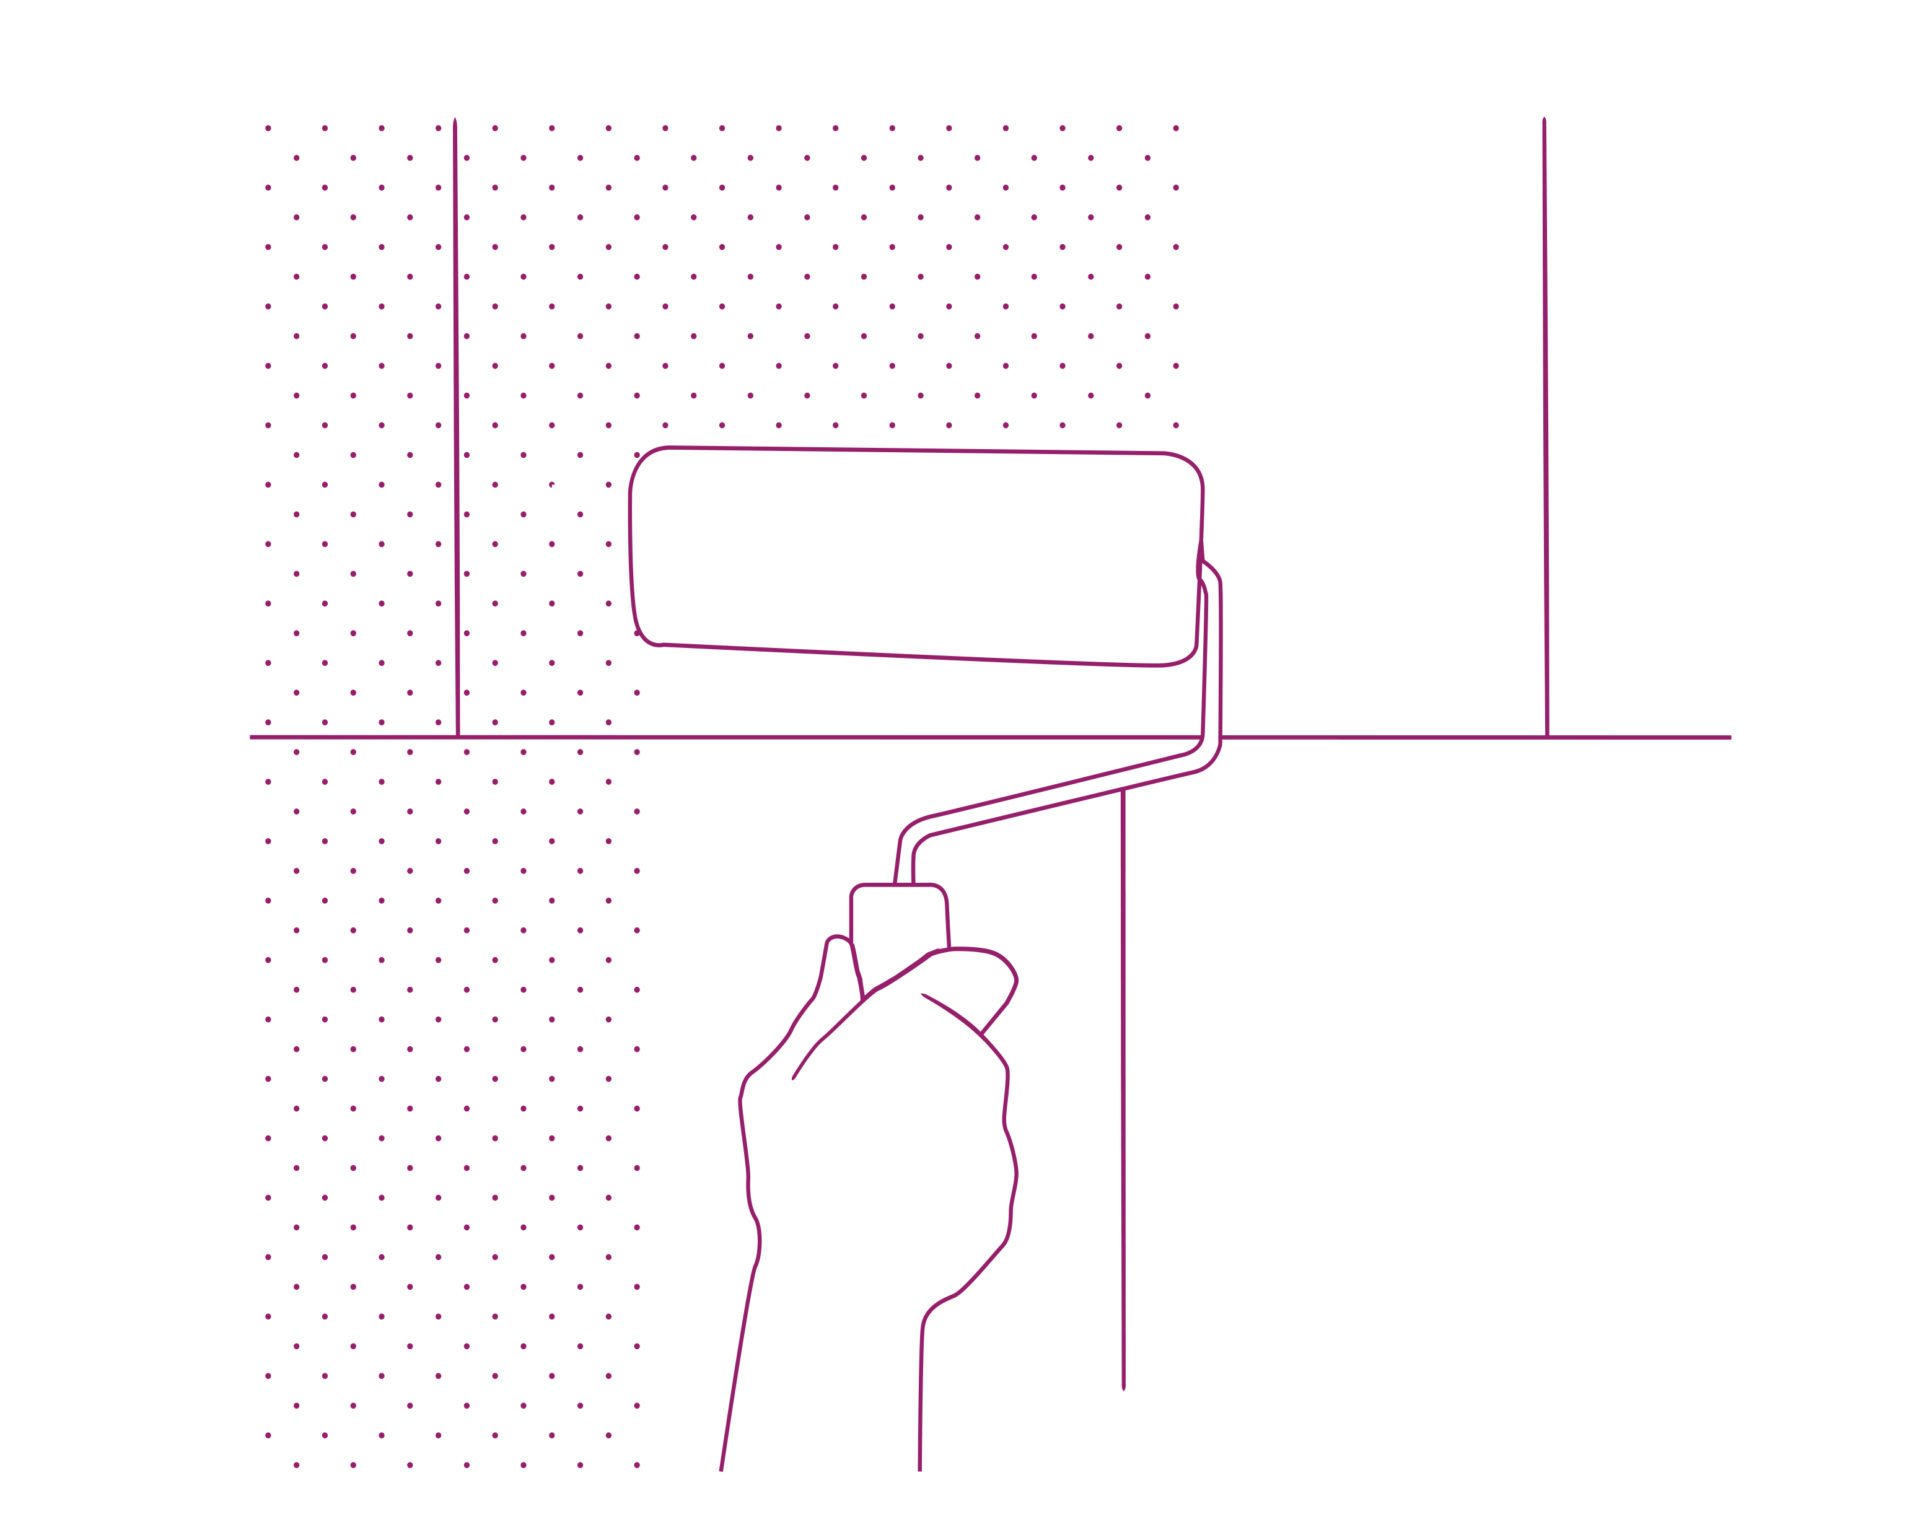
Stick the tile
ollocate the first tile in one of the corners of the marked cross in the center of the wall. Apply during a few seconds a light pressure in the tile from the exterior to the center to get stacked.

Verify that the tile is alienated
Check with a leveler that the first tile is alienated with the center.
Mark the center of the following tile
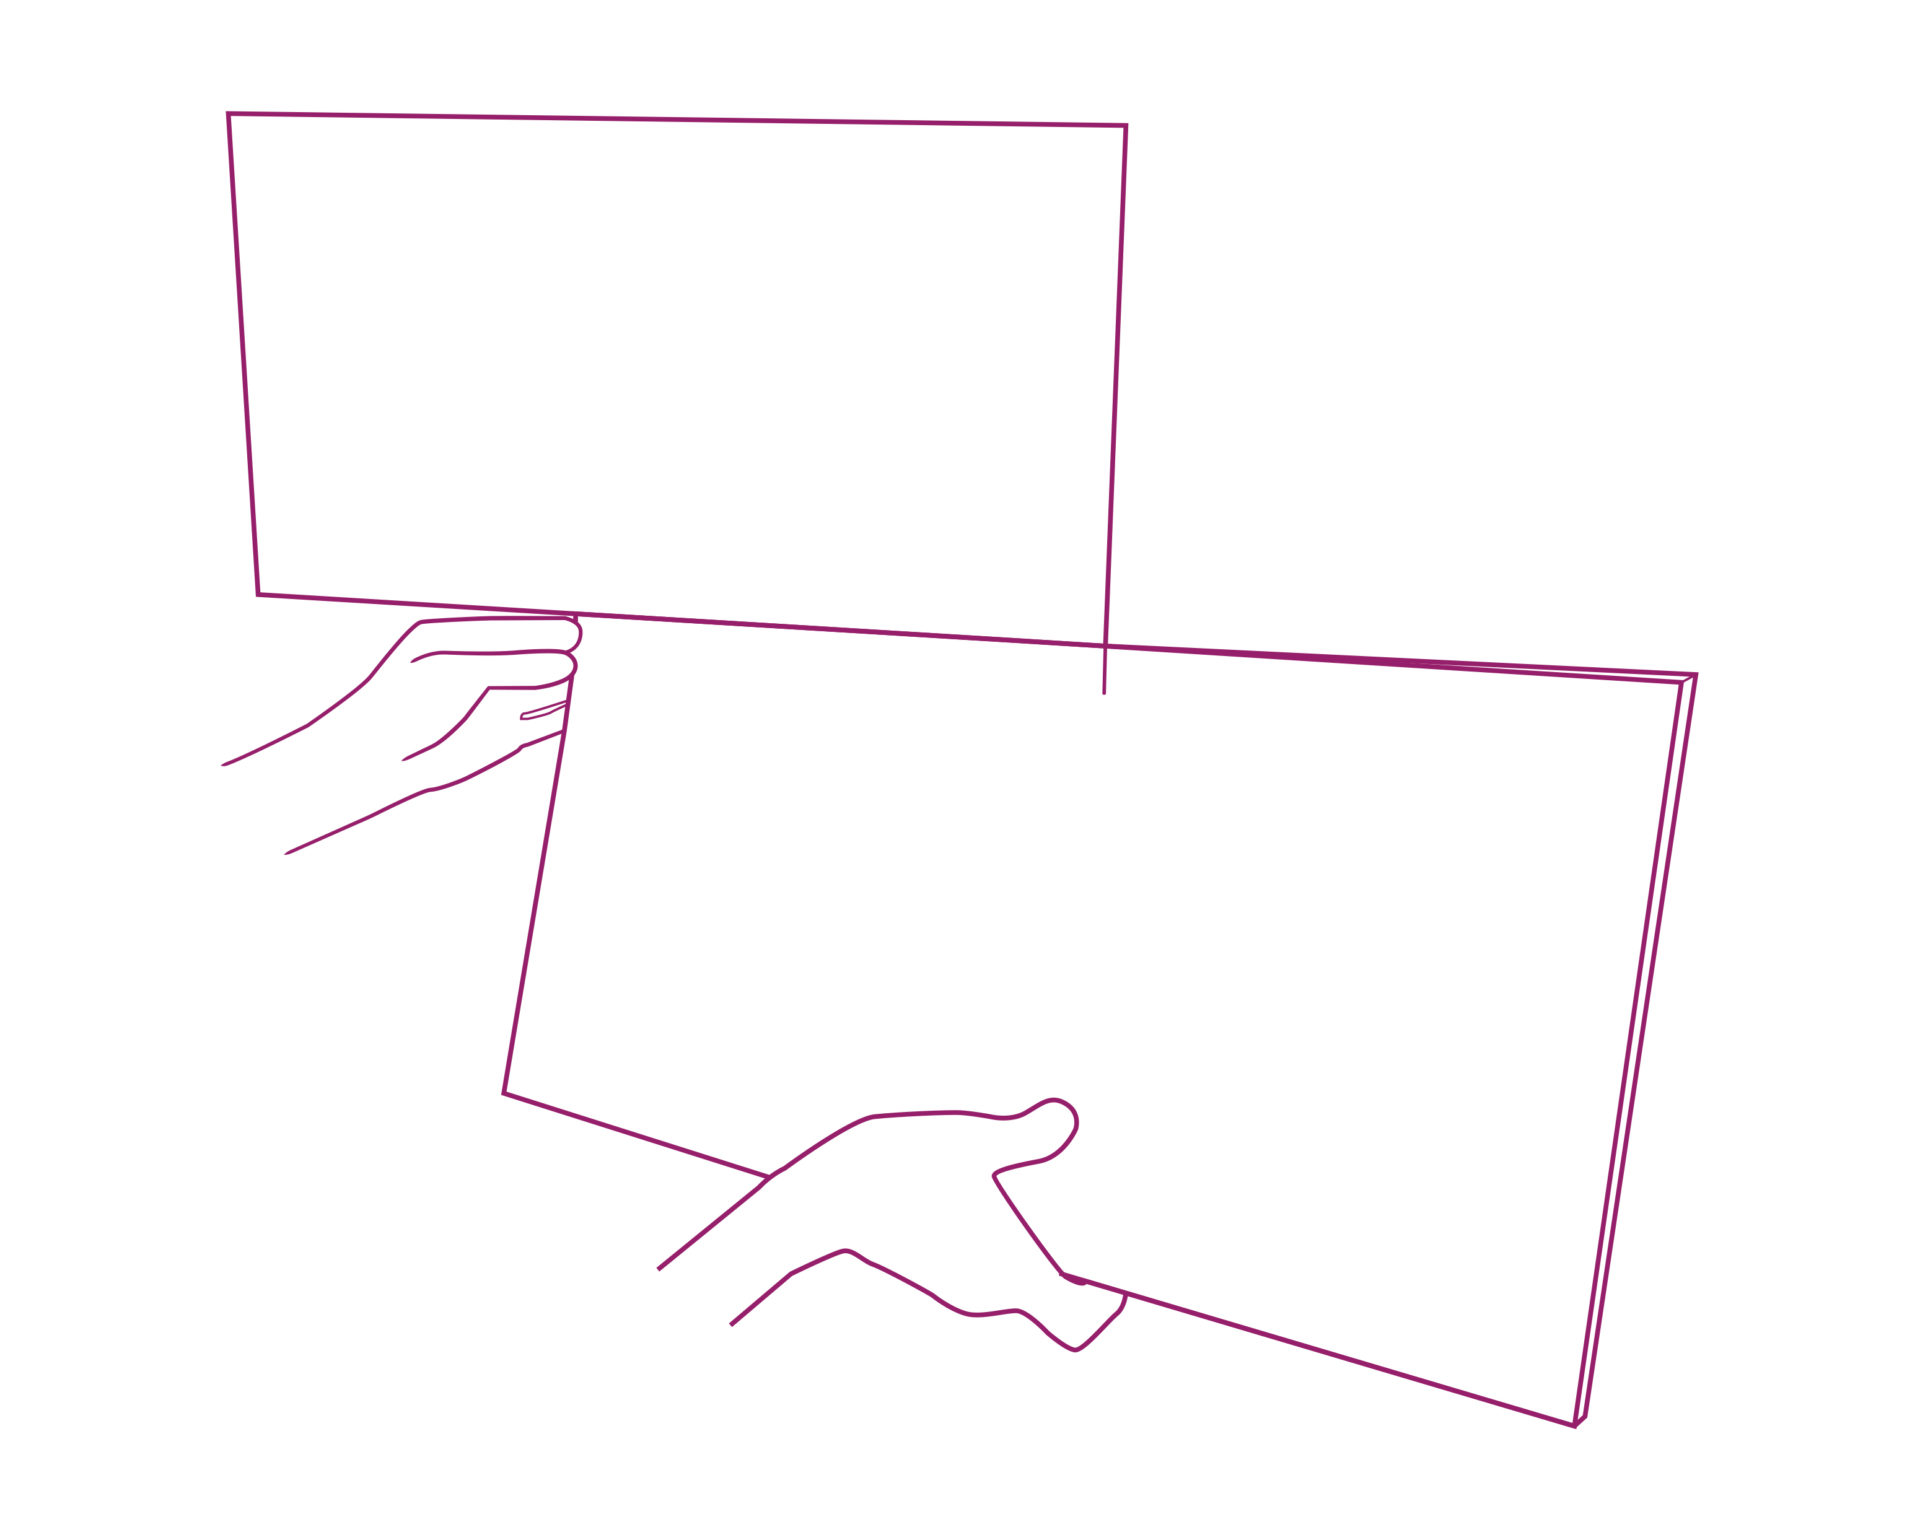
Collocate the following tile alienated with the center of the wall
Using the center marked cross and the first tile to get oriented, stick the tile below the first one.
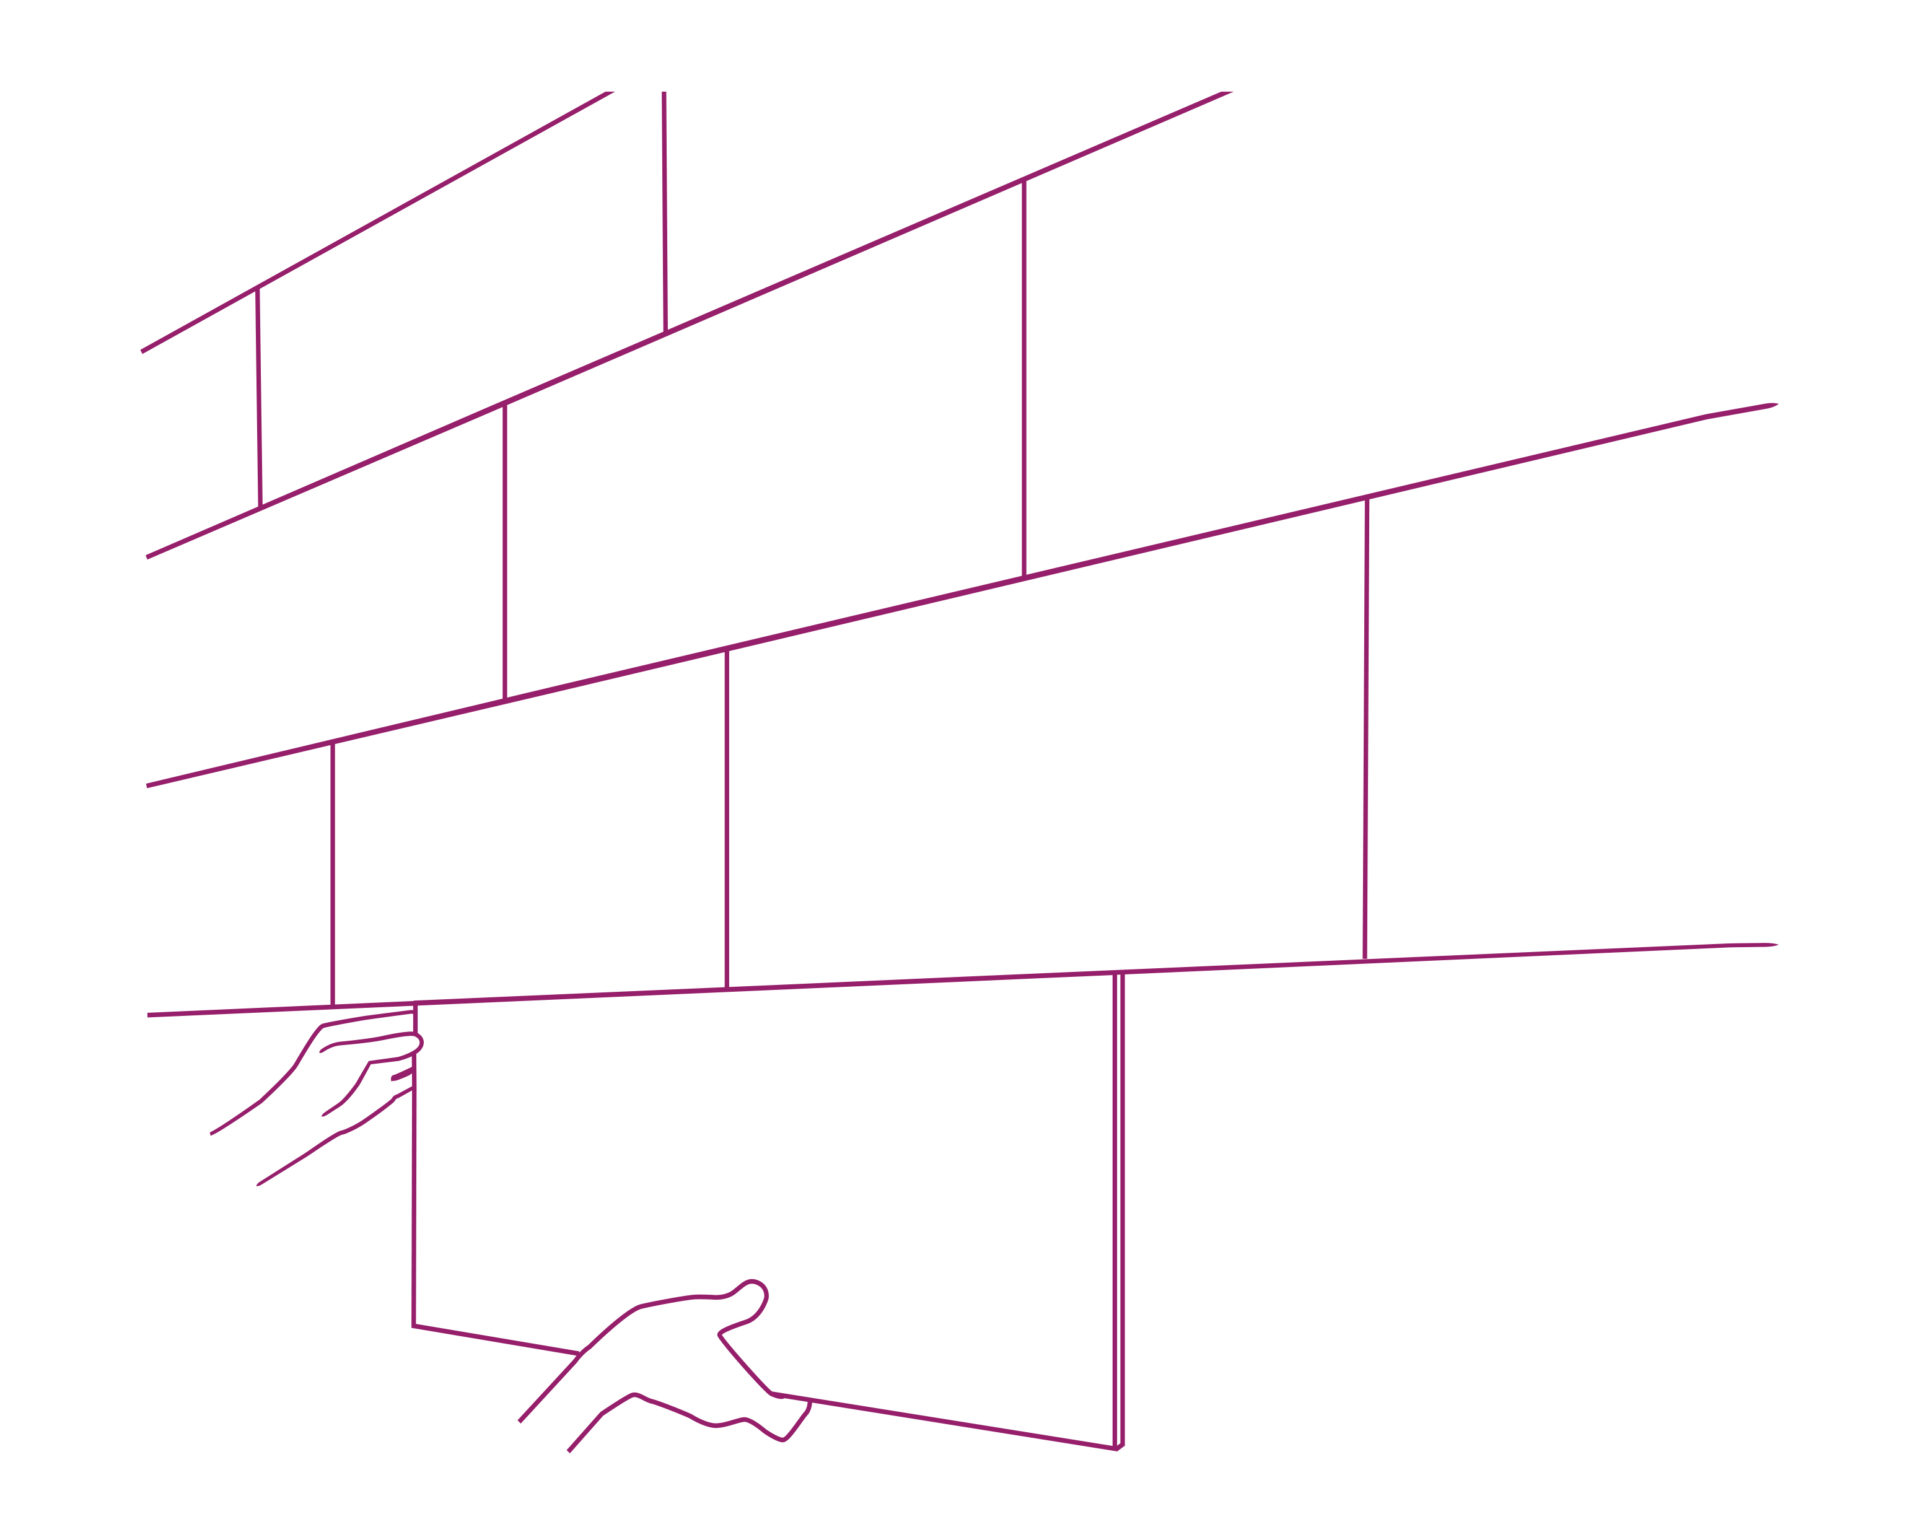
Collocate the following tiles
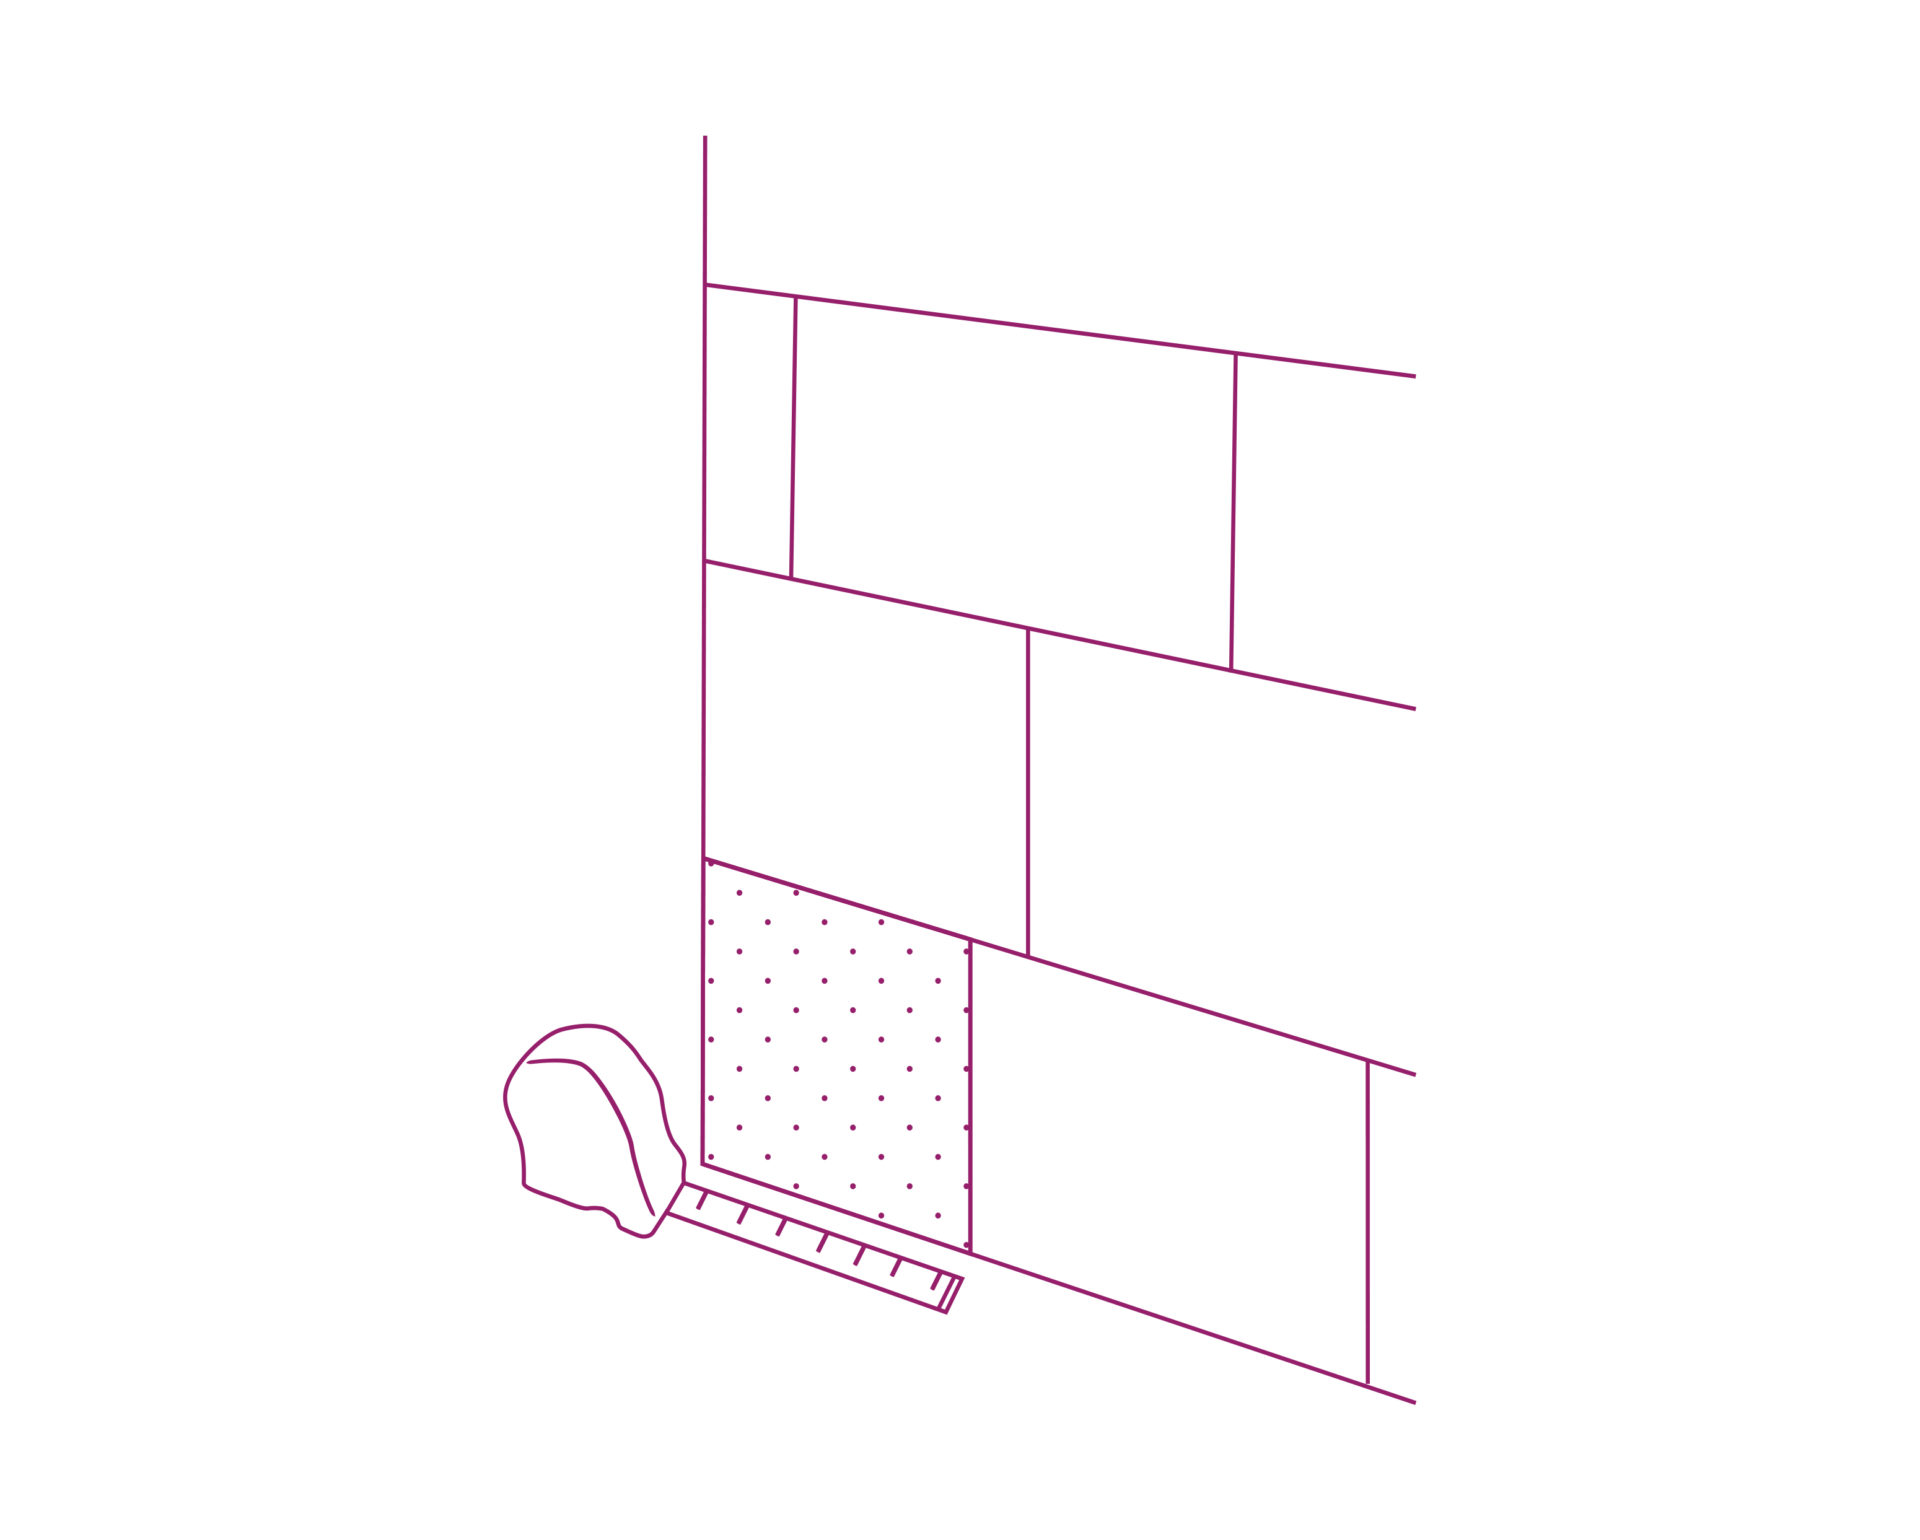
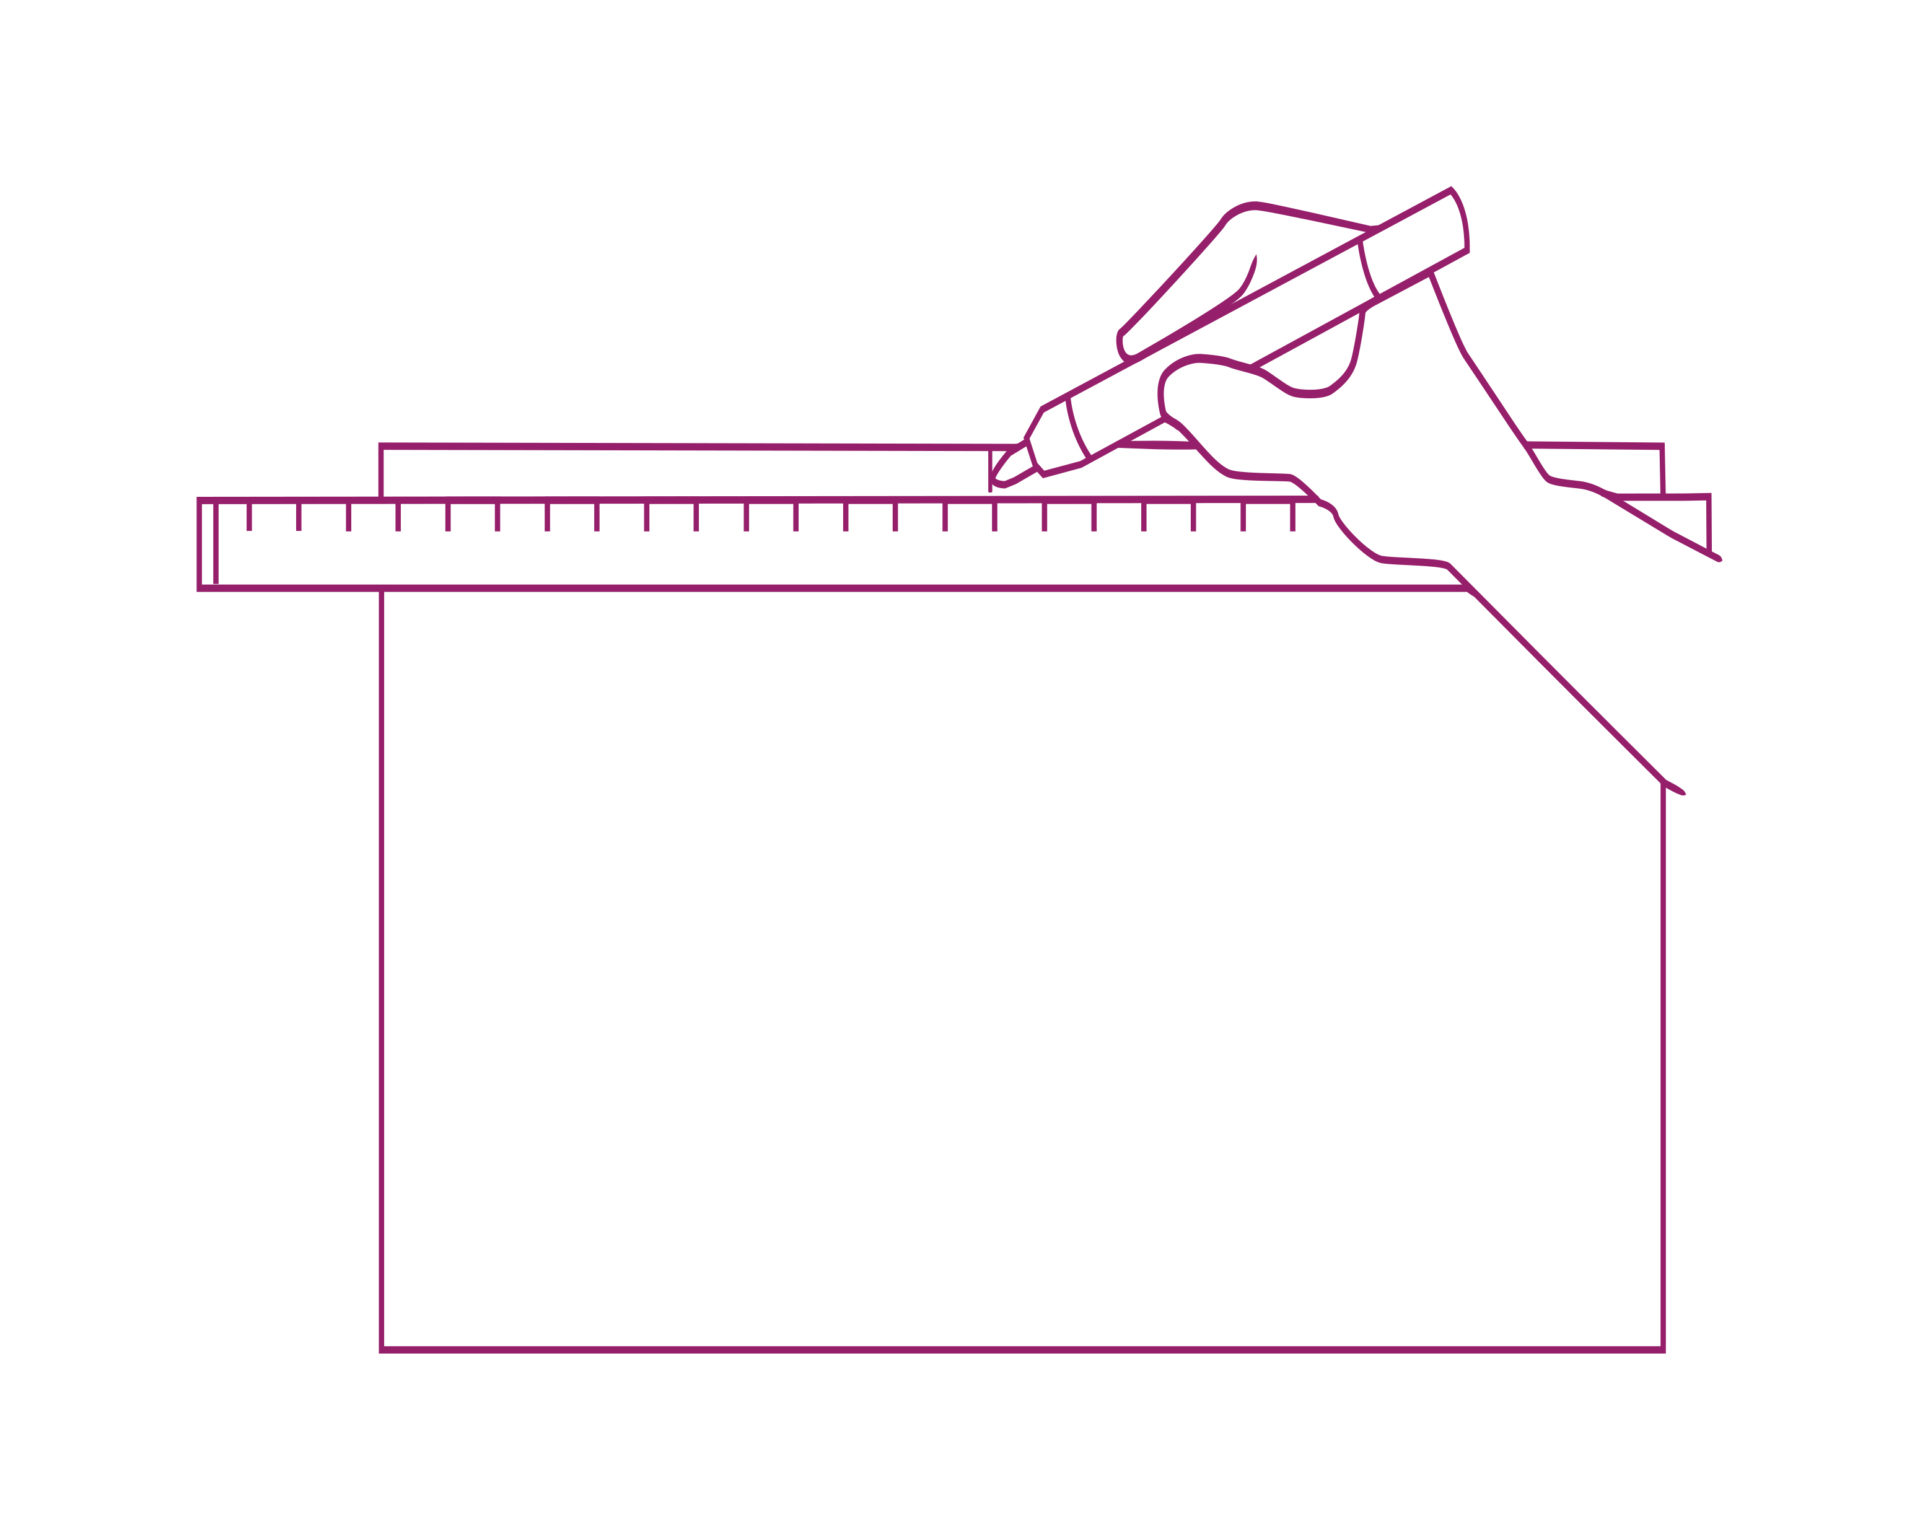
Measure the necessary cut
When installing the last tile, measure the cutting point of the piece of tile needed on the wall.
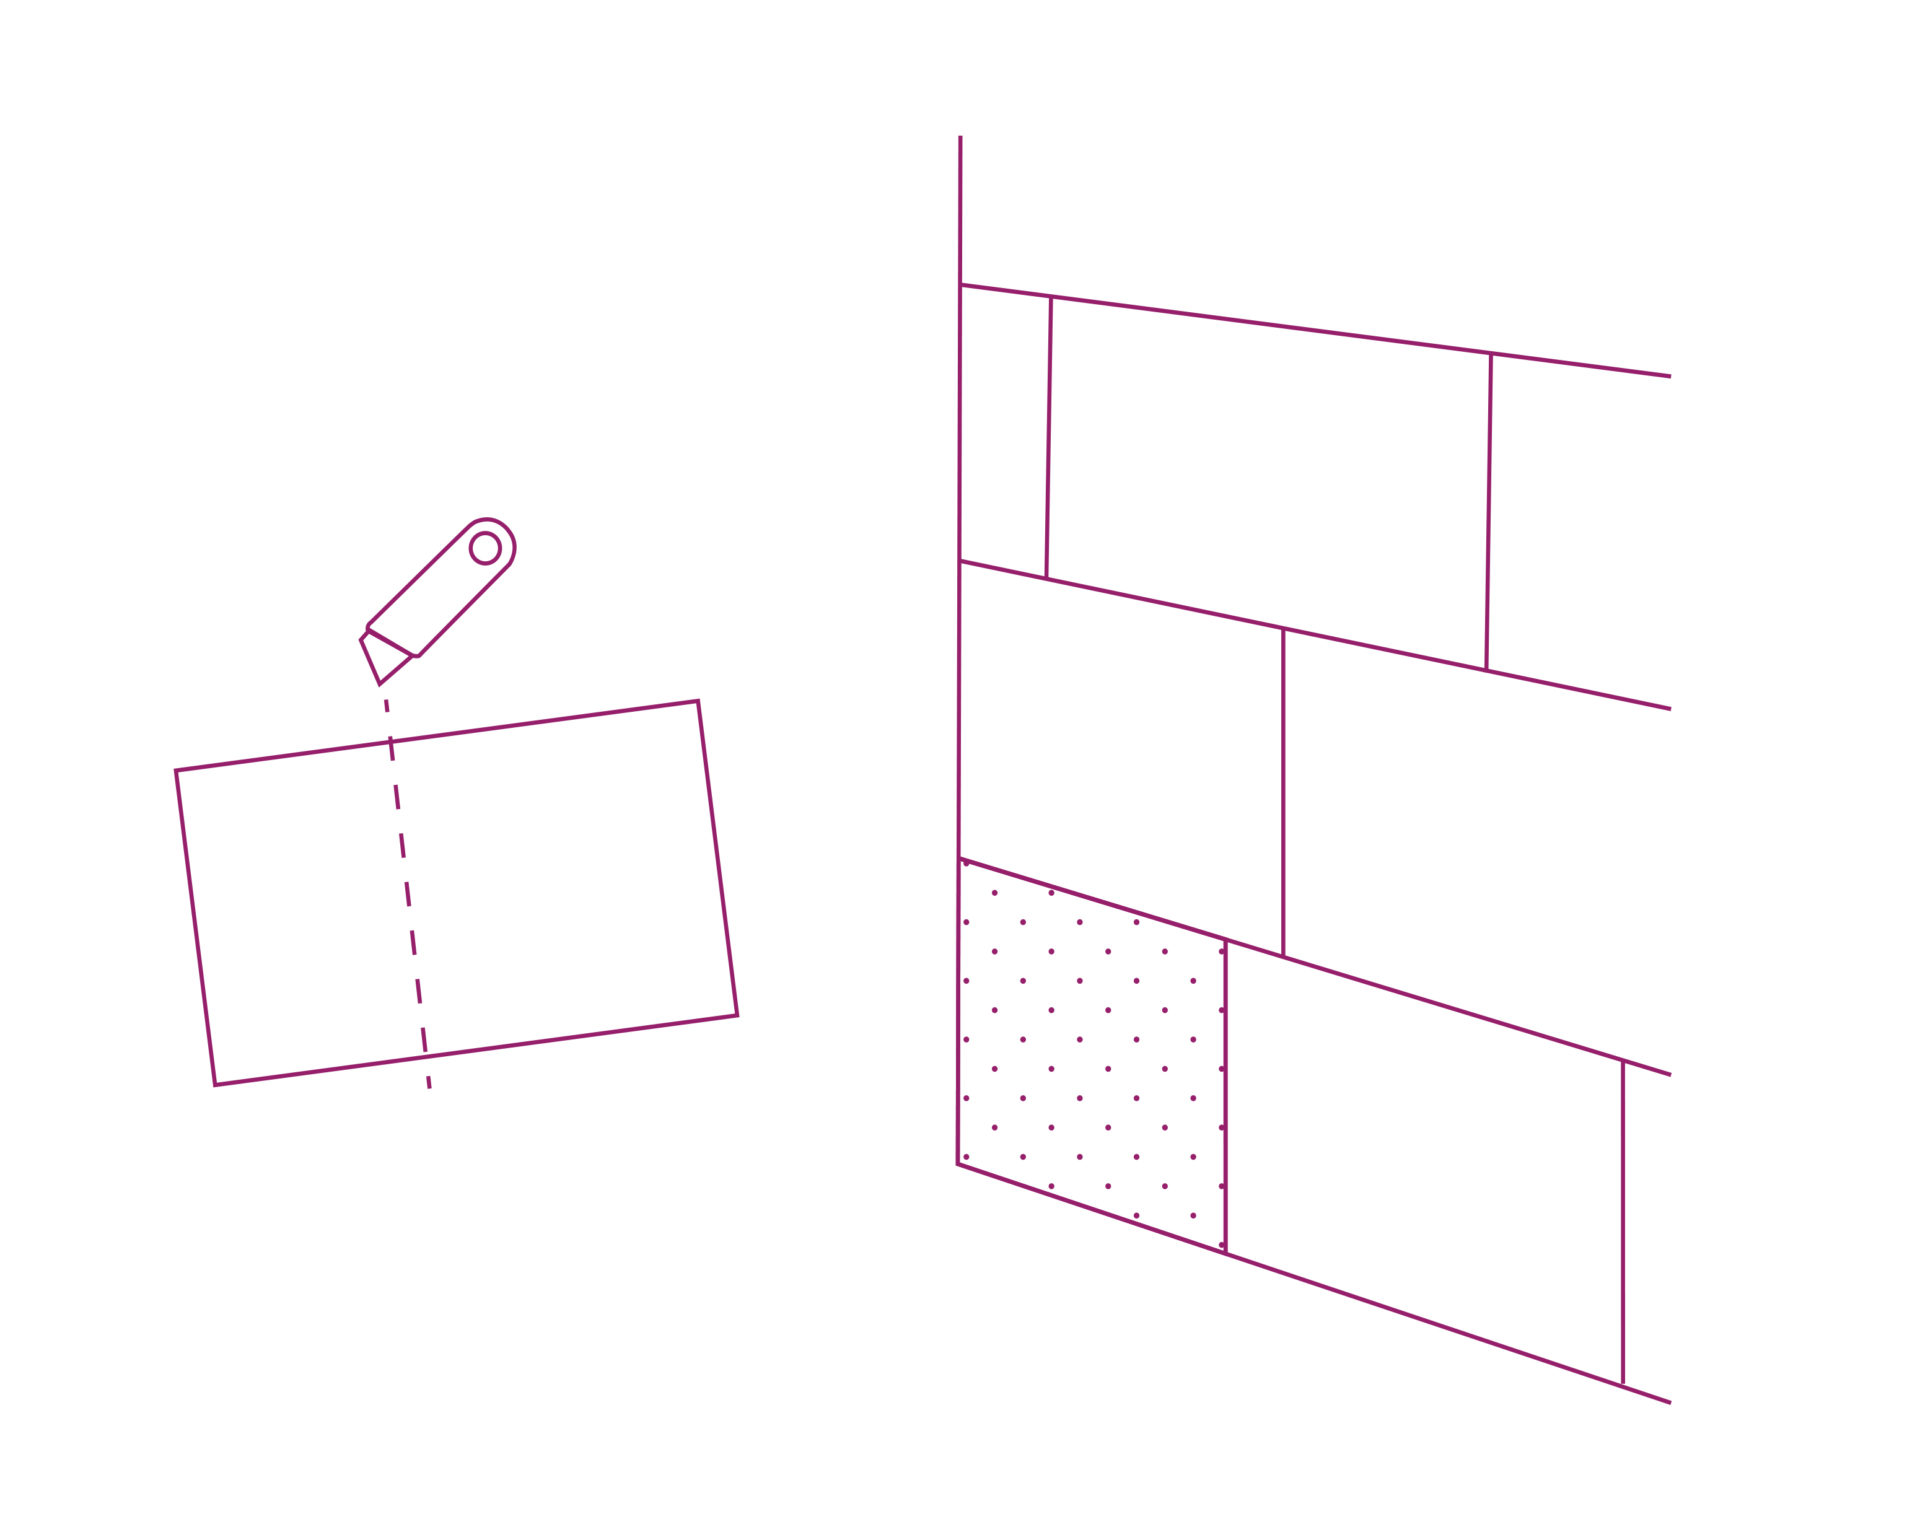
Cut the excess with a cutter
Using a regular tile, mark the space necessary and cut the excess of the tile just with a cutter.
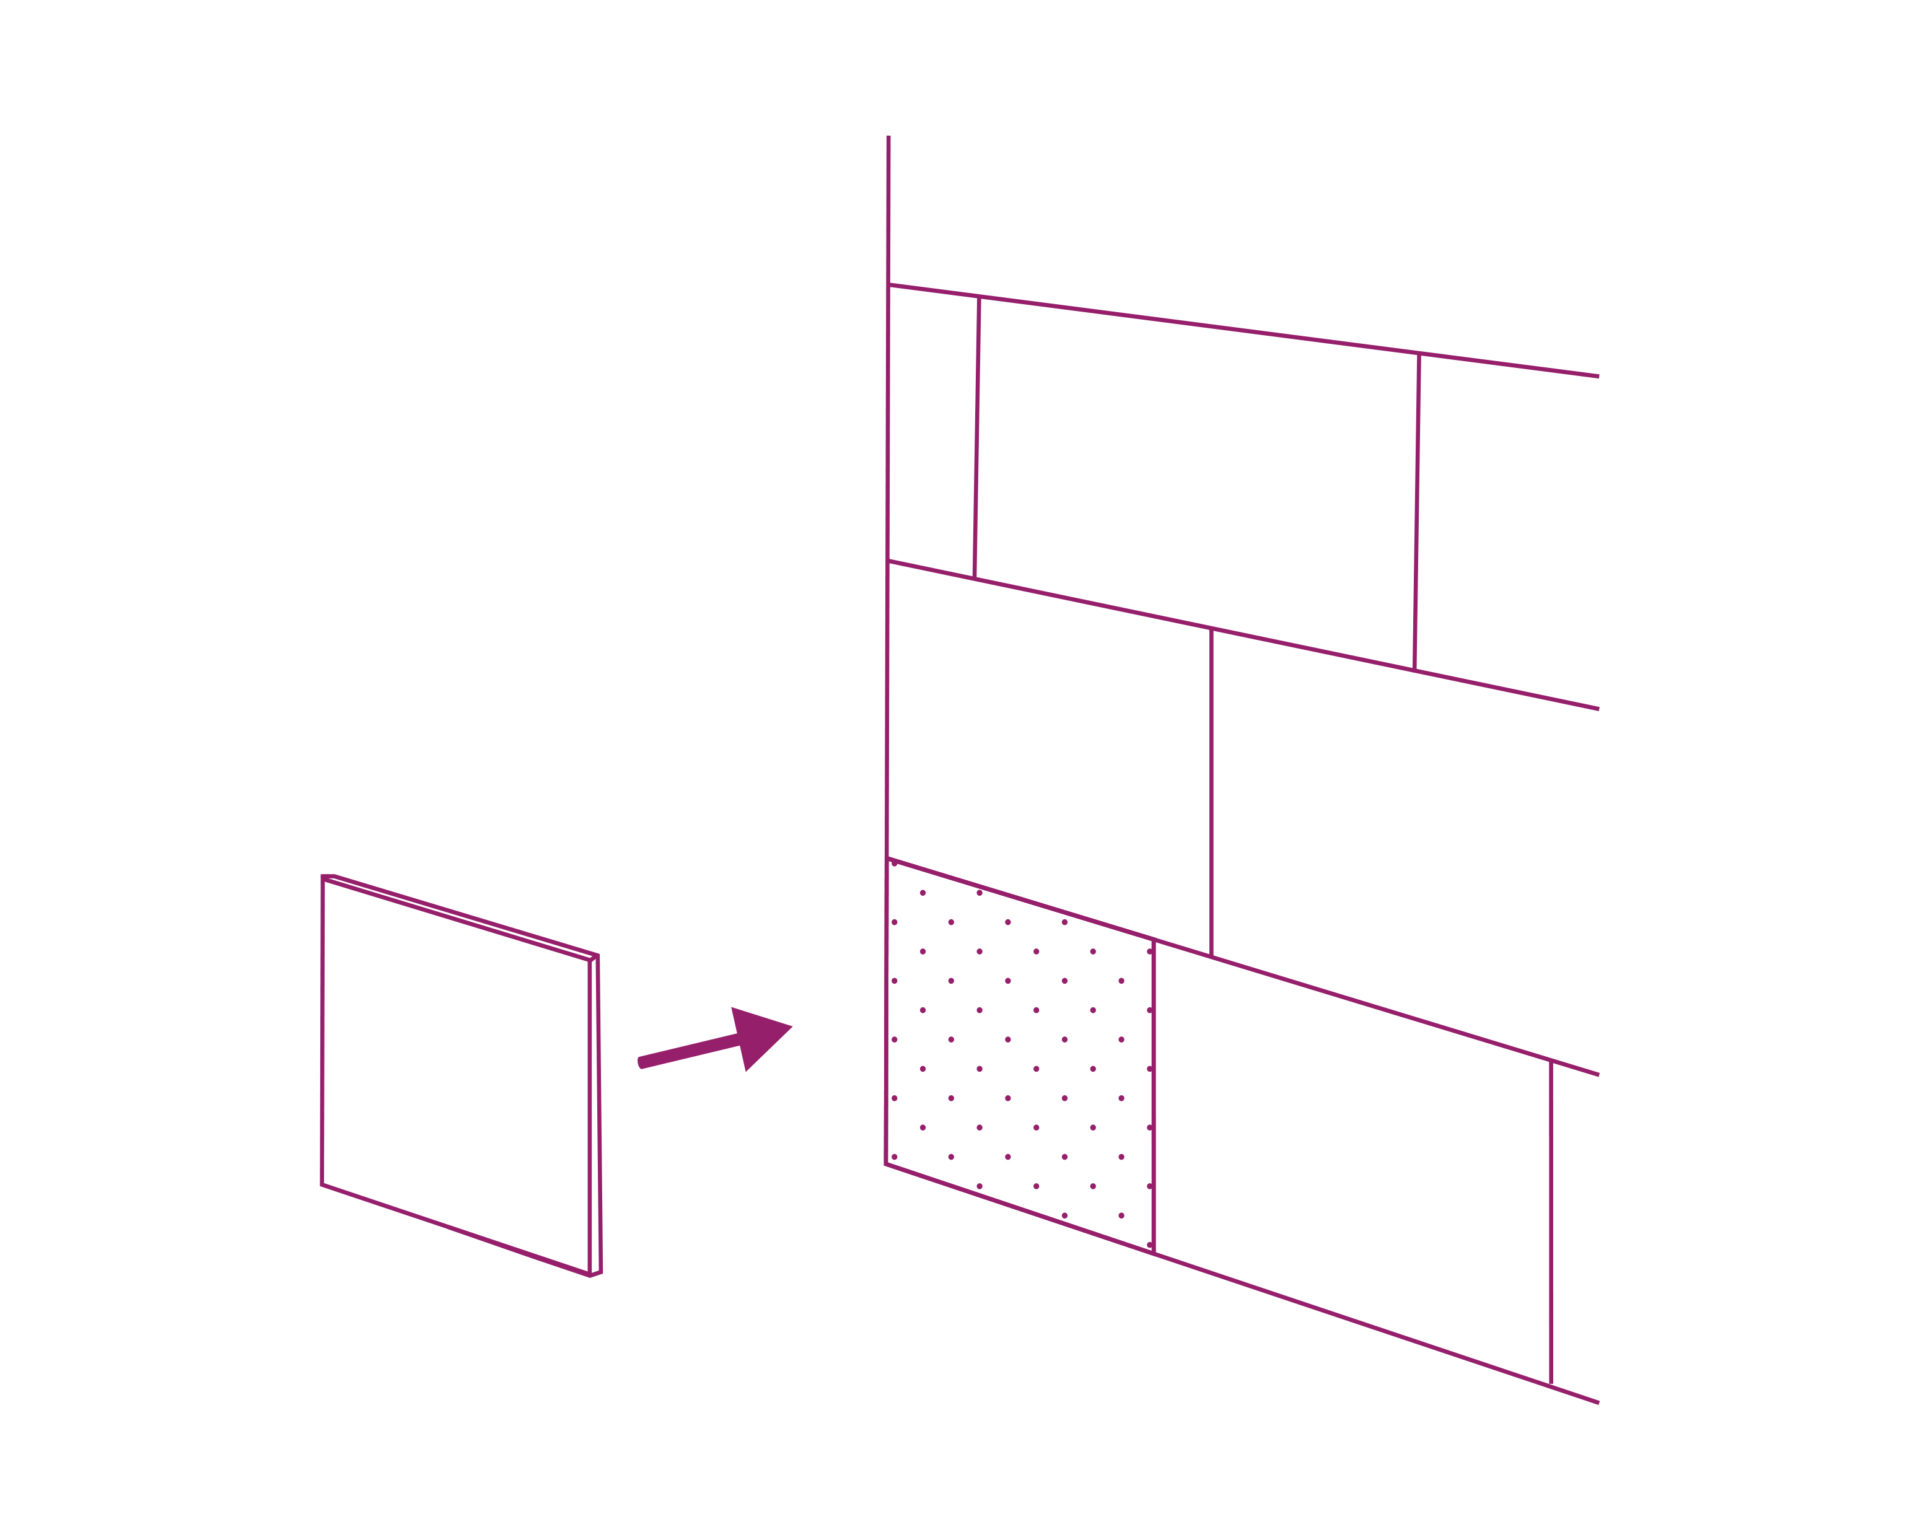
Collocate the cut tile
Apply installation glue to the holes on the backing and stick the cut tile on the corner.
Shower installation
N.B. For shower rooms, moisture insulation is always required.
Clean the surface
Clean it with alcohol and be sure that the surface is clean and out of greases.
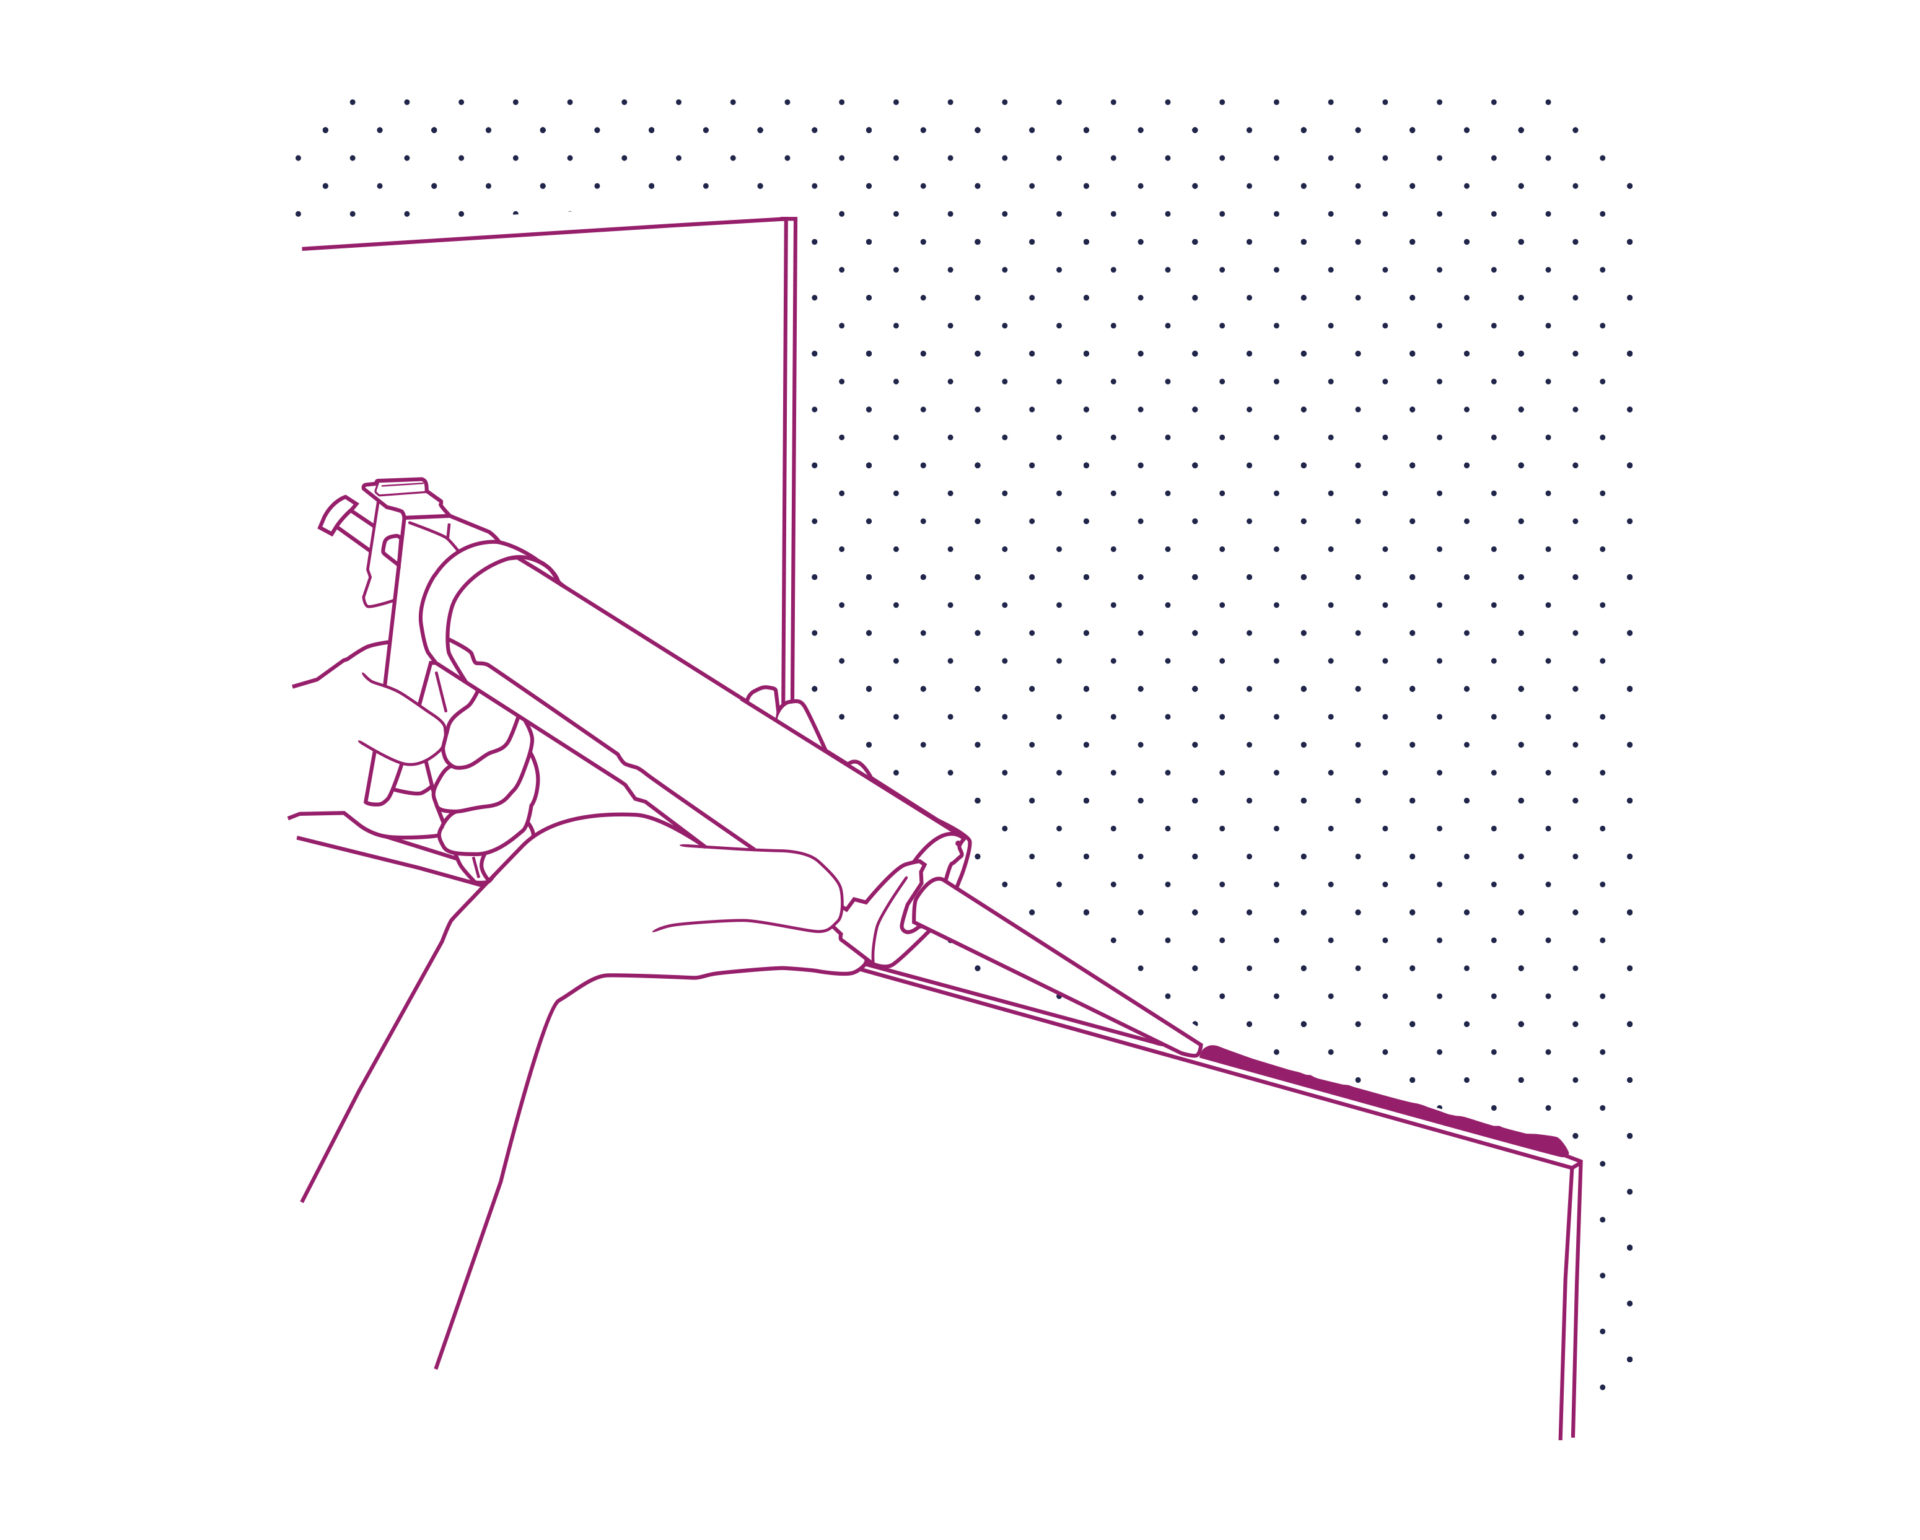
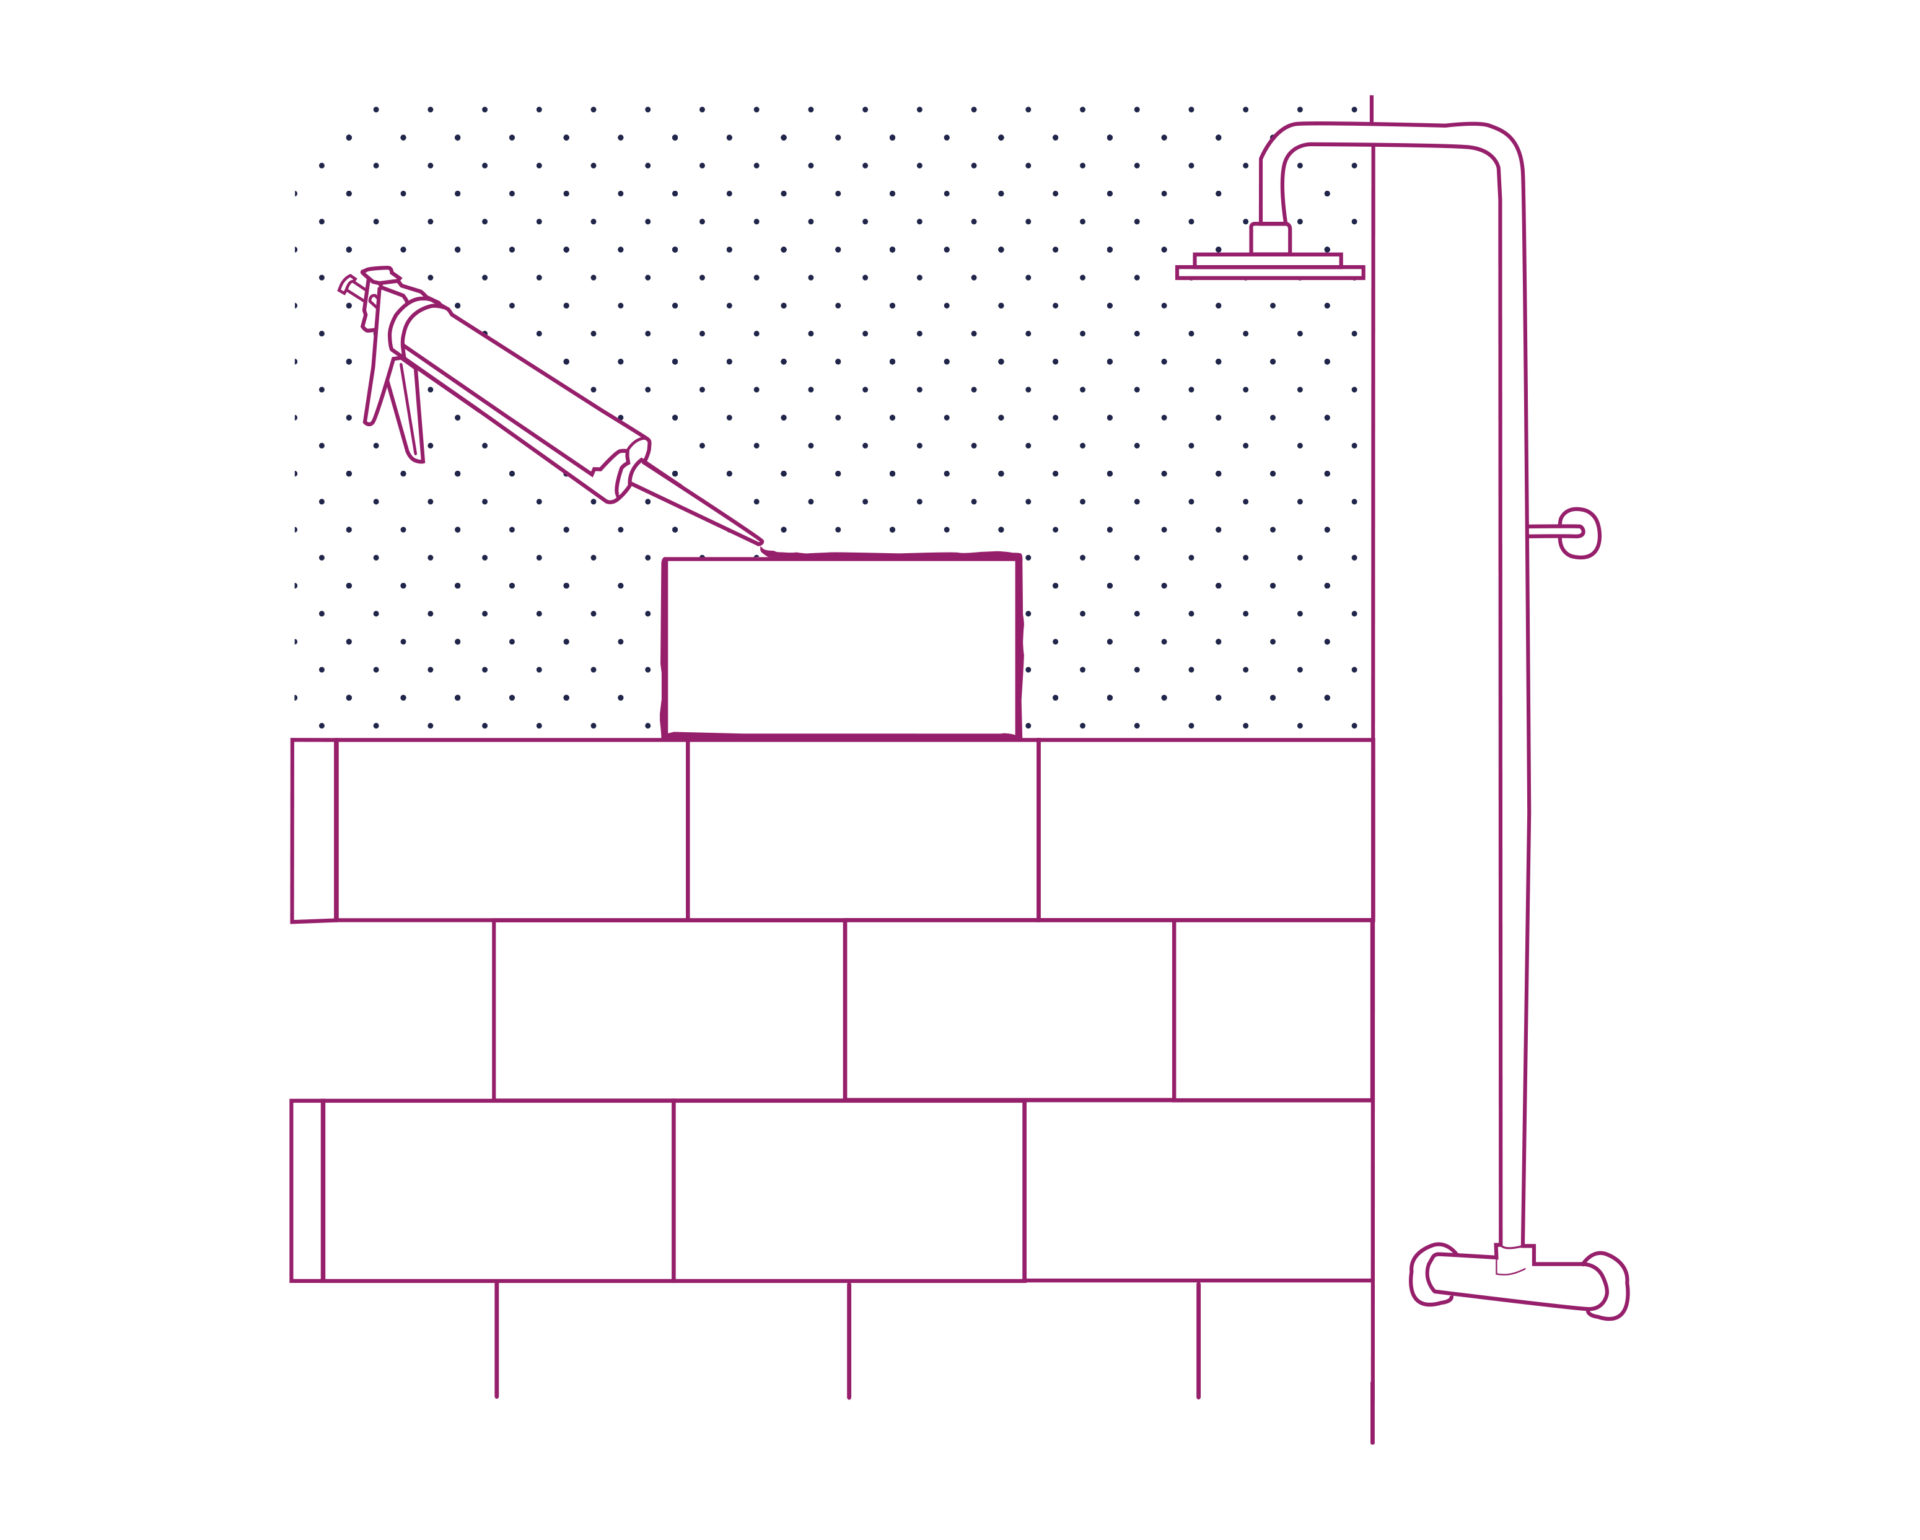
Apply sealant silicone
Apply sealant silicone around the perimeter of each tile before its installation.
Remove excess
Remove the excess silicone with the finger
Art spa wall panels maintenance instructions
The coated Easy Cover Pro texture is hard and resistant and does not need to be polished, varnished, waxed or brightened separately.
Additional processing do not improve the longevity of the product or improve its properties.
Do not use abrasive products or compounds such as ammonia, solvents or other strong substances for cleaning.
These things mentioned above can change product properties such as brightness or color. If you use other cleaning products, test the suitability of the product first.
Maler Oy shall replace a faulty product with a new equivalent product or up to the price of the defective product.
Maler Oy is not responsible for indirect costs.