Lue ohjeet huolellisesti ennen paneelien asennusta
Ennen asennusta
- Huomioi, että paneelit on tarkoitettu vain sisäkäyttöön ja ne eivät saa joutua suoraan kosketukseen veden kanssa.
- Tavarassa ilmeneviin mahdollisiin virheisiin voidaan vedota vain ennen sen asentamista!
- Samasta tuotantoerästä yhteiset isot pinnat.
- Huonelämpötilan ja –kosteuden täytyy olla normaali. Huonelämpötilan noin 20°C ja ilman suhteellisen kosteusprosentin noin 40%. Eli huoneen seinien ja katon tulee olla kuivia, ikkunoiden ja ovien lasitettuja.
- Paneelit eivät saisi altistua yli 110°C:n jatkuvalle lämmölle.
- Paneelin lämpötilan ja kosteuden on annettava tasaantua samaan lämpötilaan ja kosteuteen asennusympäristön kanssa ennen kiinnitystä noin kolme päivää. Pakkauksia ei tarvitse aukaista kokonaan, pakettien päihin tehdään aukko, josta mahdollinen kosteus pääsee pois.
- Asenna paneelit välittömästi muovikalvon poistamisen jälkeen
Alusta
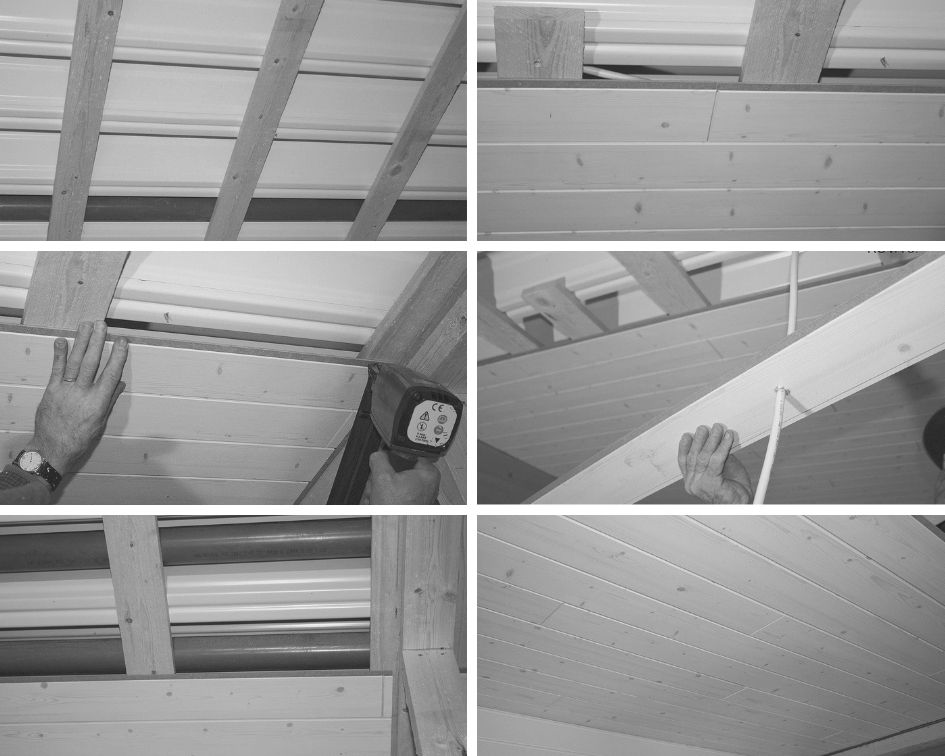
- Rimoitusväli on noin 400 mm tai pienempi, näin katto ei ala ”roikkua”. Rimojen paksuus 45×45 mm (min 20×40 mm).
- Huolehdi riittävästä ilmankierrosta paneelien takana. Tarvittaessa irrota alalaudoitus tai kiinnitä vastalaudoitus.
- Varmista, että alalaudoitus on suorassa, huolimatta katon epätasaisuuksista.
- Suosittelemme paneelien asennukseen viimeistelynaulainta.
- Naula ammutaan vinosti urospontissa olevan naulauspykälän kohdalta, jolloin naulauskohdasta tulee mahdollisimman huomaamaton.
- Jätä paneelien ja seinän väliin 10-15 mm laajenemisvara. Sauma peittyy kattolistalla.
Turvaohjeet
- Paneeliin ei saa kiinnittää valaisimia tai muita vastaavia painavia esineitä, vaan ne täytyy asentaa suoraan alaruoteeseen.
Valmistaja korvaa virheellisen tuotteen uudella vastaavalla tuotteella tai enintään viallisen tuotteen hinnan.
Valmistaja ei ole vastuussa välillisistä kustannuksista.